How to Install WaveShare 3.5 Inch LCD on Raspberry Pi 4
How to Install WaveShare 3.5 Inch LCD on Raspberry Pi 4
Hey! I hope you all are doing great in this pandemic or lockdown period. I know this has been really difficult and that we might not get what to do. But if you are a technology enthusiast and really involved in new technology, then you are in the right place.
So, here today I am going to tell you how to install Waveshare 3.5 inch LCD touchscreen to your Raspberry Pi 4.
Interfacing a Touchscreen LCD with a Raspberry Pi is very useful as this setup can be used to develop Raspberry Pi based stand-alone systems like Weather Monitoring Stations, Security Systems, and Camera Interfacing, etc.
Adding a Touchscreen to your Raspberry Pi opens up doors to a lot of projects as well as increases the portability of the system.
Having a nice LCD Display on your Raspberry Pi can allow us to make complex projects like a media center, PC, smartphone, tablet, etc. There are different types of Touchscreen LCDs available in the market today for Raspberry Pi from different manufacturers with different screen sizes, resolutions, operable with a stylus, etc.
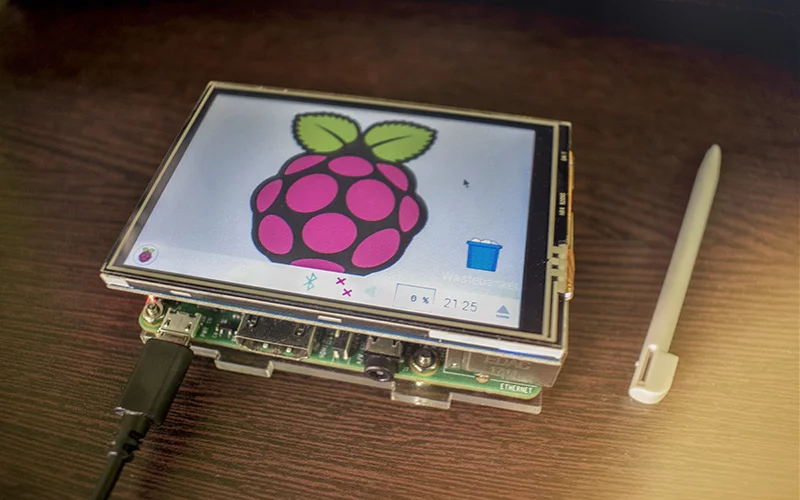
In this project, we will see how to set up an LCD Touchscreen on Raspberry Pi. For this project, we have chosen a WaveShare 3.5 inch RPi LCD V4 touchscreen type LCD display.
Software & OS
Beginners should start with the NOOBS (New Out Of Box Software) operating system installation manager, which gives the user a choice of an operating system from the standard distributions.
SD cards with NOOBS pre-installed should be available from any of our global distributors and resellers. Alternatively, you can download NOOBS.
Raspberry Pi OS (previously called Raspbian) is the recommended operating system for normal use on a Raspberry Pi.
You can check the Raspbian OS installation on our Getting Started Guide
It is the cutest, little display for the Raspberry Pi. It features a 3.5″ display with 480×320 16-bit color pixels and a resistive touch overlay. It’s designed to fit nicely not only to the Pi Model A or B but also works perfectly fine with the Model B+.
Features
- 480×320 resolution
- Universal 3.5” Display for the Raspberry Pi
- Compatible with Raspberry Pi A, B, A+, B+, and Pi2 versions
- Powered not only from your computer but also from your portable power
- Adapt for Raspbian system
Specification
- LCD Type:TFT
- LCD Interface: SPI
- Touch Screen Type: Resistive
- Touch Screen Controller: XPT2046
- Colors:65536
- Backlight: LED
- Resolution:480*320 (Pixel)
Usage
When users connect the Raspberry Pi to use, they need to configure the official system. Or you can also burn the configured system image directly.
Step 1:Download the Raspbian IMG
https://www.raspberrypi.org/downloads/raspbian/
Step 2: Burn the system image
If you don’t know how to do that, you can refer to the Raspberry Pi office tutorial
Step 3: Open the terminal and download the driver on RPI
Run:
git clone https://github.com/Elecrow-keen/Elecrow-LCD35.git
Step 4: Install driver
Run:
cd Elecrow-LCD35
sudo ./Elecrow-LCD35
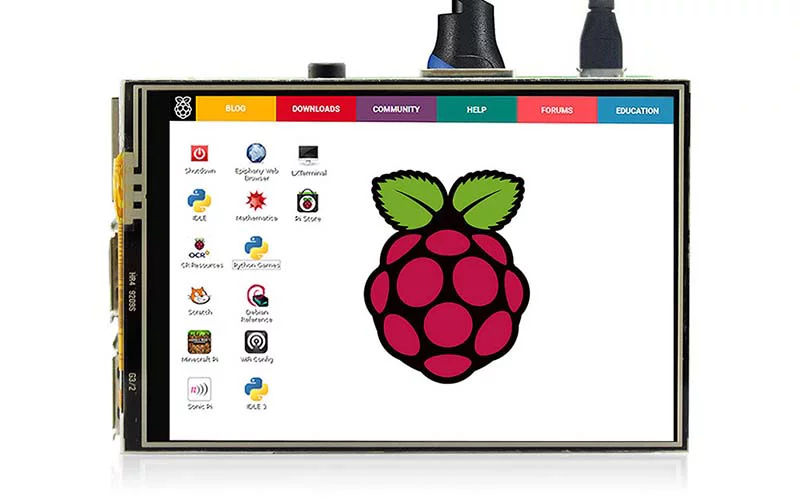
Wait A Few Minutes, when the system reboots ok, you can see that.
Touch screen calibration
- This LCD can be calibrated using a program called xinput_calibrator
- Install it with the commands:
cd Elecrow-LCD35
sudo dpkg -i -B xinput-calibrator_0.7.5-1_armhf.deb
- Click the Menu button on the taskbar, choose Preference -> Calibrate Touchscreen.
- Finish the touch calibration following the prompts. Maybe rebooting is required to make calibration active.
- You can create a 99-calibration.conf file to save the touch parameters (not necessary if file exists).
/ect/X11/xorg.conf.d/99-calibration.conf
- Save the touch parameters (may differ depending on LCD) to 99-calibration.conf, as shown in the picture:
For a live demo of how to do it, I am attaching some of the video links that might help you:
Congratulations !! So you just learned how to set up a 3.5-inch touch screen LCD to the new Raspberry pi 4. If you have any questions let us know in the comment section below. Good Luck Have a Nice Day 🙂
Bricked my pi400. Don’t use!
Install completed! I can switch between HDMI and my Screen!
Now however when I switch to Hdmi Mode the 3.5 screen stays lit (bright white screen.
any way to shut it off?
How do i return to use the HMDI ports?
It’s not working with pi 4 , any one got it working on pi4, kindly share the fix,wil be much helpful.. thanks in advance
Hello,
Thank you for this post.
I have a question about the OS version. The default is raspbian x32. I tried to follow this instruction with my Pi 4 and Raspian x64 beta. After installing the driver and reboot nothing changed. The LCD screen is still white. Should this driver work with Raspbian x64? And what about Ubuntu?
Thanks!
i have the same issue
Yes same here, screen is all white .
Sir I want to use 3.5 inch lcd with raspberry pi 4.
Can you send the terminal code to my Gmail :- krsurajprakash98@gmail.com