Raspberry Pi 4 Tutorial for Beginners (Getting Started Guide)
What is Raspberry Pi 4 ??
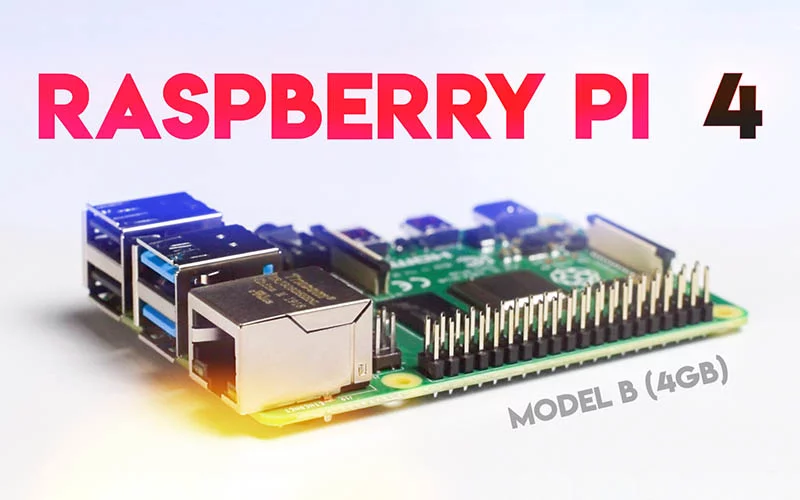
Welcome to the Raspberry pi 4 tutorial, your search ends here! All the basic things you need to know about raspberry pi, it doesn’t matter either you are a Newbie or Pro. Developed by the British company in the United Kingdom, the Raspberry Pi foundation, has created Raspberry Pi 4, this little computer is of great value for money.
It’s particularly well suited for beginners who want to learn more about the hardware structure of a computer and the basics of programming because it’s one of the smallest single-board computer, which has all the basic hardware components of a computer (processor, ram, etc.) and various extensions (USB, HDMI, video, sound). A micro SD card (serves as a hard drive while also providing the operating system to be installed).
– Ads –
– Continue Reading –
The latest model, Raspberry Pi 4 was launched in June 2019. This edition has a 64-bit CPU, WiFi, and Bluetooth, and boasts improved performance speed. It has been specifically designed for experimentation with the circuit board and to help users develop new computing skills. The main reason to choose raspberry pi 4 as a beginner is because this is the latest (till now) bug-free version and faster than all old pi boards.
What are the Specifications of Raspberry Pi 4 ??
Raspberry Pi 4 comes with- Broadcom BCM2711 Quad-core Cortex-A72 (ARM v8) 64-bit SoC @ 1.5GHz Processor, 4GB LPDDR4-3200 SDRAM and OpenGL ES 3.0 graphics H.265 (4kp60 decode). It has Gigabit Ethernet, along with Wifi of 5.0 GHz IEEE 802.11ac wireless & Bluetooth 5.0, BLE. Micro-SD card slot for loading operating system and data storage. 2-lane MIPI DSI display port and 2-lane MIPI CSI camera port. And also 4-pole stereo audio and composite video port.
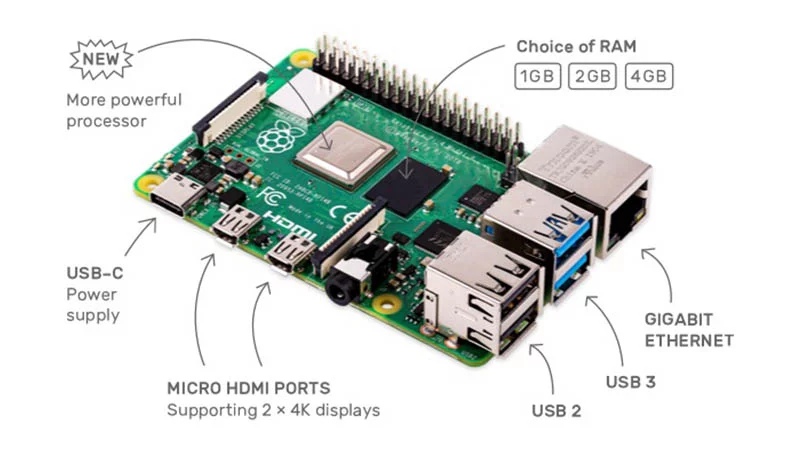
The main aesthetic differences between a Pi 3 and Pi 4 are Pi 3 is having four USB 2.0 ports but the Pi 4 consists of two USB 2.0 and two USB 3.0 ports for transferring the data up to ten times faster. In the Pi 3 edition we had 1 normal HDMI Port but in Pi 4 we have two Mini- HDMI Ports which means we can run two monitors at once in 4K too by using micro HDMI connector. In the previous versions- micro USB Power supply was used but now we can use Type C power supply.
What things to do with Raspberry Pi and basic Uses ??
For beginners you can use the Raspbian OS (its a free operating system) or NOOBS for doing your programming stuff by using SCRATCH & PYTHON which comes with these OS, you can install tons of free software from the terminal too. Raspberry pi OS generally comes with software pre-installed in it which fills the basic PC requirements, the power consumption of the pi board is very low which saves you some bucks in electricity bill in the comparison of a regular desktop computer. It can be operated just by a mobile power bank so you can is as a raspberry pi portable PC.
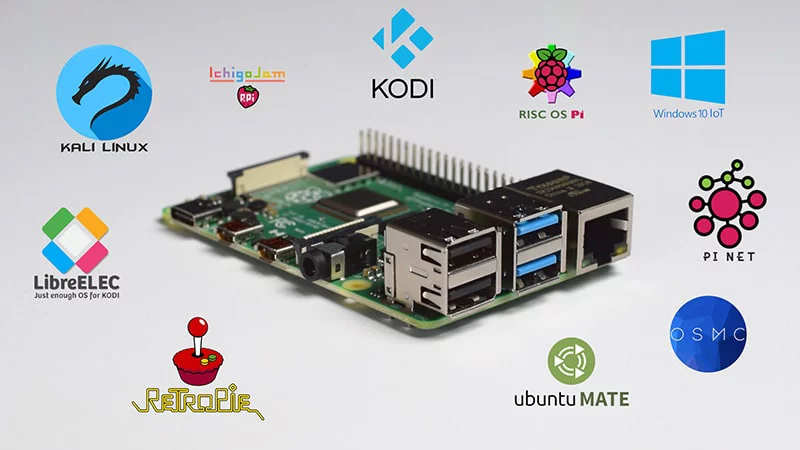
You can get Raspbian OS for free on the official raspberry pi website called raspberrypi.org. And after getting some expertise you can also use third-party Operating Systems like KALI LINUX for ethical hacking, OSMC, or KODI to stream or watch Full HD videos. You can also make it a game console by installing RETROPi on it, play thousands of old retro games. Different OS serves you differently in this mini-computer. You can control thousands of sensors, make your own smart mirror, build and control drones or robots.
– Ads –
– Continue Reading –
It can also be used for home automation or security system. You can make it a Pocket PC, Web server, build a virtual Jukebox, create a social media bot, Network monitoring tool, Home media center, Network Attached Storage (NAS) device, Wireless Bridge, AI projects and many more. These are just some Raspberry Pi 4 projects for you to get your brain juices flowing! With the amazing processing speeds and performance power on the Raspberry Pi 4, there are millions of more cool things for you to do and experiment.
Where you can get the Pi 4 & Which Version ??
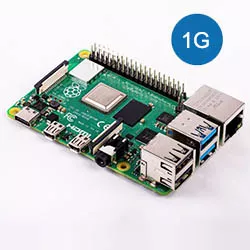
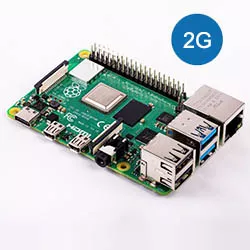
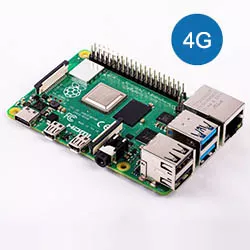
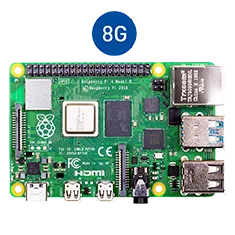
There is not any difference between the 3 versions of the Raspberry pi 4, except RAM. It comes with 1GB, 2G, and the 4GB LPDDR4 RAM unit, prices are less in low-end RAM units but it doesn’t make sense to buy those two low RAM units. They will perform the same as the old Raspberry pi models, the real gem is Pi 4, this is the fast and most selling product in the SBC market. But if you want pi in bulk and there is no requirement of RAM memory to run lite software or network, you are welcome to check those too.
Select one of the Raspberry Pi 4 Version you want below:
Note: Special discount from Banggood:
Coupon: BGrp25568 ($5 off Global) Coupon: BGINRPI4 (For India only)
Raspberry Pi accessories you need getting started
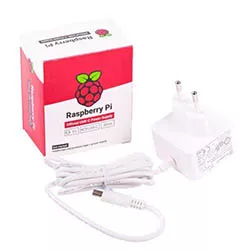
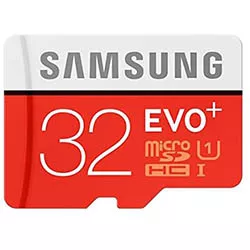
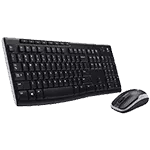
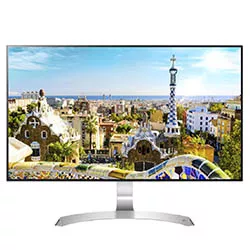
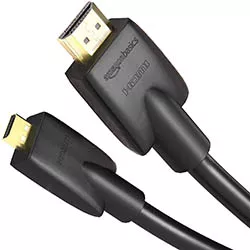
So generally to operate raspberry pi you will need a Type-C Power adapter (5v 3A), any class 10 MicroSD Card, any USB or Bluetooth keyboard and mouse, any desktop monitor with at least 1 HDMI port and a micro HDMI to HDMI cable. These are the standard requirement for the new raspberry pi 4, but you can customize or reassemble the pi. In the place of power adapter you can use a power bank, instead of using a desktop monitor you can use a portable monitor or raspberry pi LCD. It all depends on you how you want to assemble and use it as your required project, check the item links below:
How to Setup Raspberry pi for the first time ??
So once you got your raspberry pi unit at your home and you are exited to set it up, here is the step by step tutorial. The very first thing you have to do, sit near a desktop PC or any laptop to download the Raspbian operating system to flash it to the MicroSD card. Follow the instructions below:
Step 1: Open your browser and search raspberrypi.org on Google or Bing.
Step 2: In the raspberry pi website navigate to the downloads section.

Step 3: Then you will see an option for Raspbian or Noobs (Raspbian is the OS and Noobs is an online OS downloader and installer) as a beginner you can simply download Raspbian manually because the installer may be confusing for first users and some time online installation interrupts.
Step 4: Now you will see 3 versions of Raspbian with different options, just select the Raspbian Buster with desktop and recommended software and download the ISO file.
Step 5: After downloading the OS you need to download & install these apps on your PC:
- 7-Zip File Extractor: http://www.7-zip.org/download.html
- SD Card formatter: https://www.sdcard.org/downloads/formatter/
- Image Flashing Software: https://www.balena.io/etcher/
Step 6: Now plug the MicroSD card to the PC using a card reader, and format card using the software above.
Step 7: Right-click on the file you downloaded form the pi site and extract it using 7-Zip. (Note: Don’t use WinRAR it corrupts the file in my experience)
Step 8: Now you will see an ISO file extracted, open the Balena etcher image flasher and drag n drop the image on Select Image like the pic below:
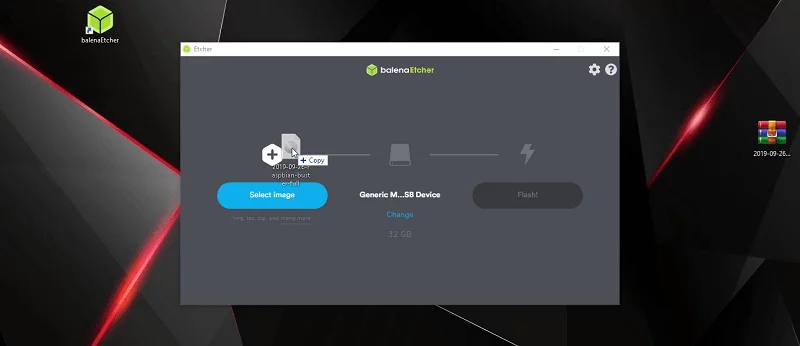
Step 9: Then select the MicroSD card you wanna install OS to and click on flash.
Step 10: After flashing finishes eject the MicroSD card from PC and plug it on Raspberry pi.
Step 11: OS section is done, now plug the USB or Bluetooth Mouse Keyboard to the pi.
Step 12: Connect pi to the monitor using Micro HDMI to HDMI cable.
Step 13: Power up the monitor first, then power-up the pi using a power adapter.
Congratulations !! you got how to setup raspberry pi 4 as a personal desktop 🙂
– Ads –
– Continue Reading –
It’s not a normal desktop replacement but its great for doing basic computer works. The main purpose of this invention is to learn or do coding stuffs, because Raspbian OS is a Linux based OS. Except for Raspbian there are more third party OS you can download and install on the raspberry pi, the good news is they all are free of cost. In the comparison of a regular desktop PC, raspberry pi consumes very little electric power.
NEW Official Raspberry Pi Beginner’s Guide
Here is the official raspberry pi 4 eBook available to download for free, follow up this link. This is a full beginner’s guide which will help you to get started. You will learn how to work with scratch, python, sense hat, camera module, and many more things you need to know. The good thing about pi is, it has a very huge community to support, you can get help from support forums too for your new creation.
Raspberry Pi 4 Tutorial for Beginners – Watch Video Guide
Thank you for reading and watching our tutorial on how to getting started with raspberry pi, I hope you got learned well. If you have any questions about this topic feel free to ask in the comment section below. Thanks again, Have a good day and a new journey with pi.




![4 best AGM Global Vision Thermal Monocular 2021 2 4 best AGM Global Vision Thermal Monocular [2021]](https://trickiknow.com/wp-content/uploads/2021/01/4-best-AGM-Global-Vision-Thermal-Monocular-2021-2-768x480.webp)
Well explained, easy to understand. Make some projects on raspberry pi sensors.
Thanks for visiting, will doing more projects soon 🙂
Hi, I guess
i missed it, where do I get the link for a 3.5 inch display setup??