How to Install 5 inch Raspberry Pi 4 Touch Screen LCD (Easy Setup)
")
How to install 5 inch LCD Screen on Raspberry Pi 4
Hey, what’s up !! in this tutorial you will learn, how to install Raspberry Pi 4 Touch Screen LCD display easily without installing any driver. You might purchase a 5 inch LCD and you are unable to install it properly on the raspberry pi. This time you are thinking to throw the LCD out of the window, but wait here I have the easiest way to install it right away.
So the 5 LCD I am using its an HDMI display, this is not going to work on any GPIO displays. I got this LCD from banggood.com and it was made for Raspberry pi 3, But I found a way to install this screen to the new Raspberry pi 4.
I hope this trick will work on your displays also as well as, in general mostly screens comes with an instruction manual. But sometimes unluckily the driver links were moved or deleted on servers and you feel alone without support. Don’t worry I am here, Just follow the instructions given below to continue:
First, check these items I am using in this tutorial.
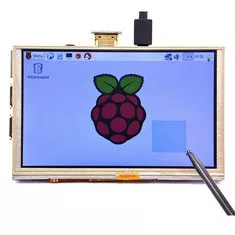
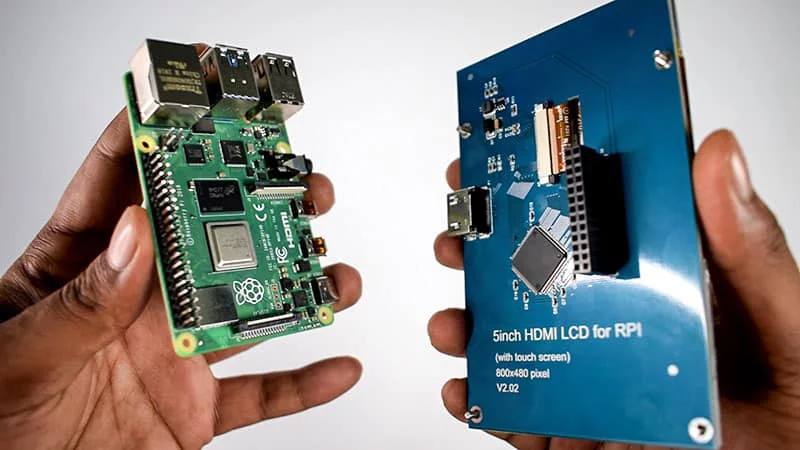
5 Inch HDMI LCD
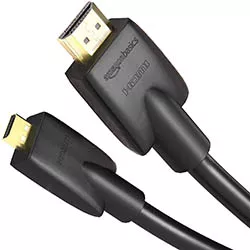
Micro HDMI to HDMI Cable
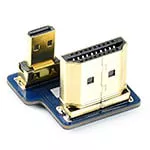
Micro HDMI to HDMI Adapter
How to Install Raspberry Pi 4 Touch Screen
So basically in the first time many users, stuck at the white screen on the LCD or some glitch. Some display work just after plugging it into the raspberry pi, but the resolution doesn’t fit the screen or your taskbar is missing and a touch driver is also not working.

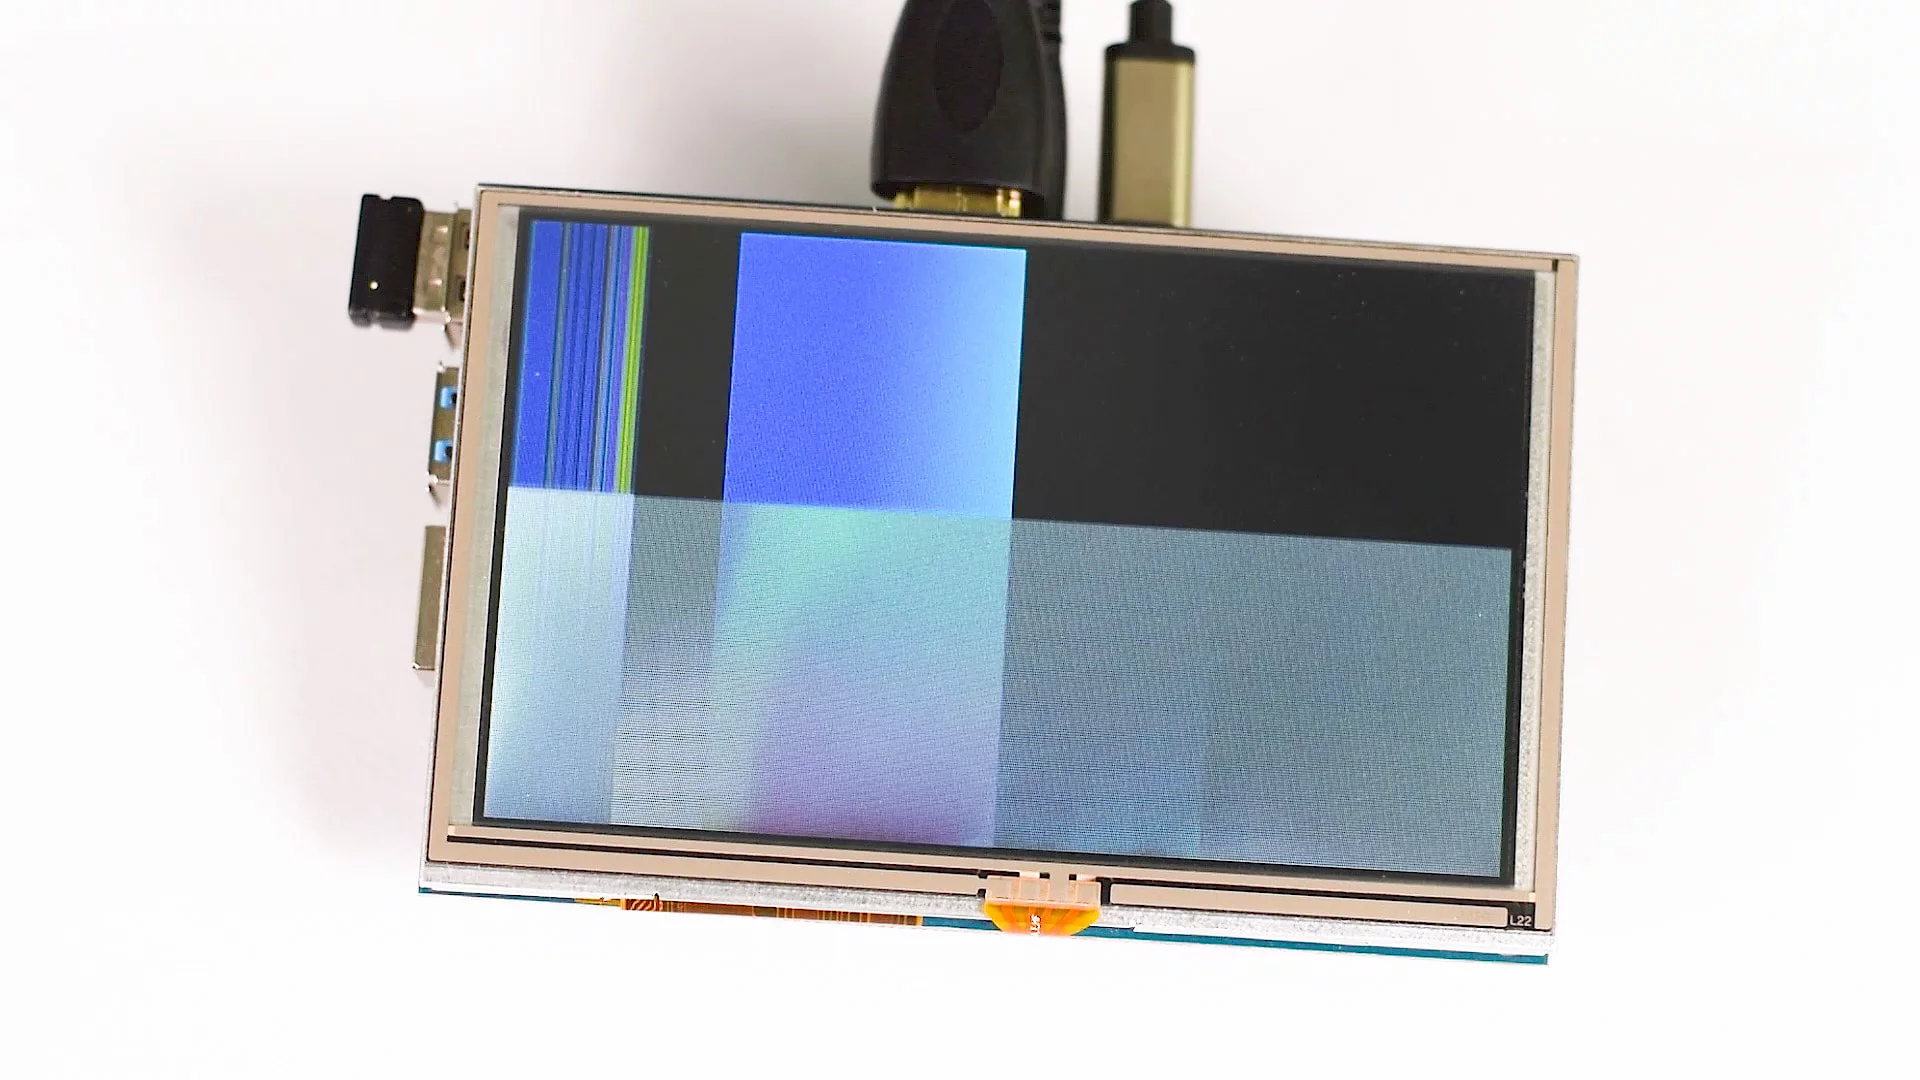
Maybe you are facing the problems as above images after some research I found a perfect solution for this which will work through most 5 inch LCD display. Just follow the steps below:
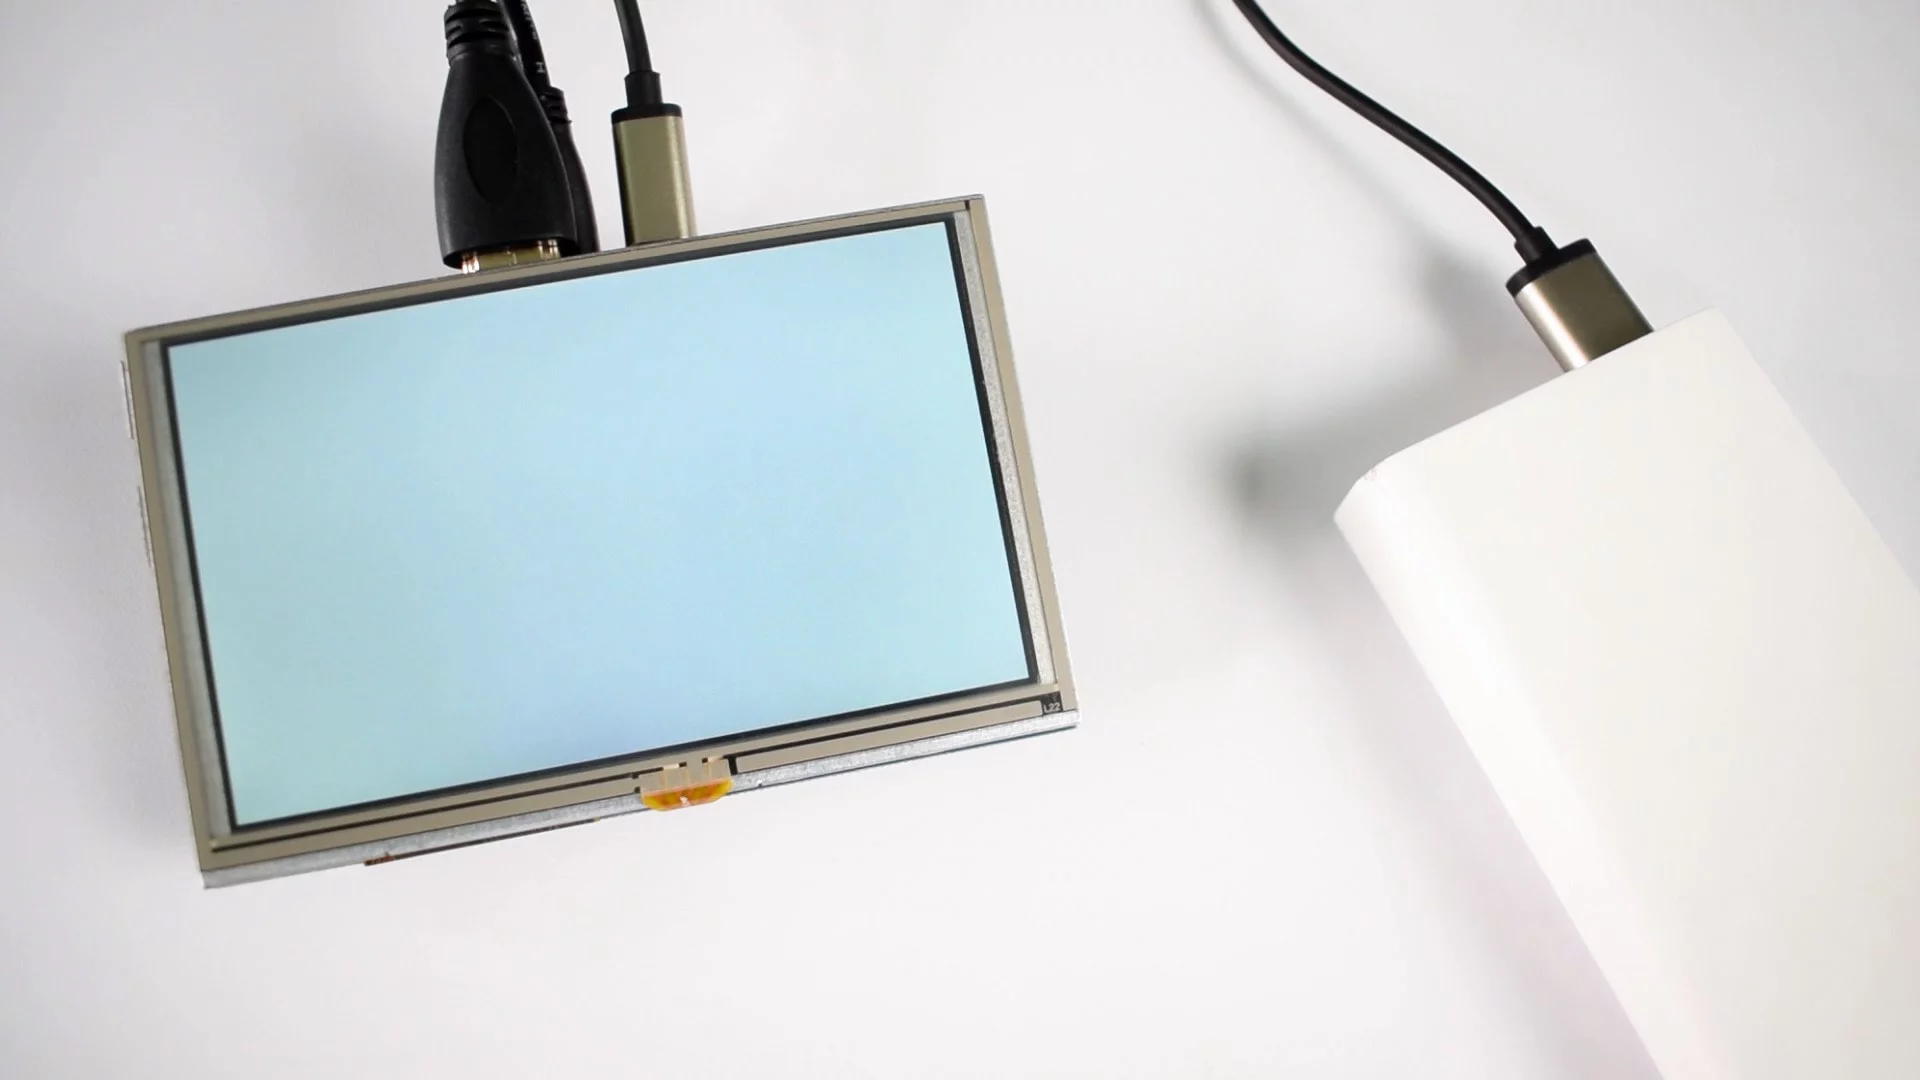
Step 1: First connect the 5-inch screen to raspberry pi 4 as mentioned in the following image.
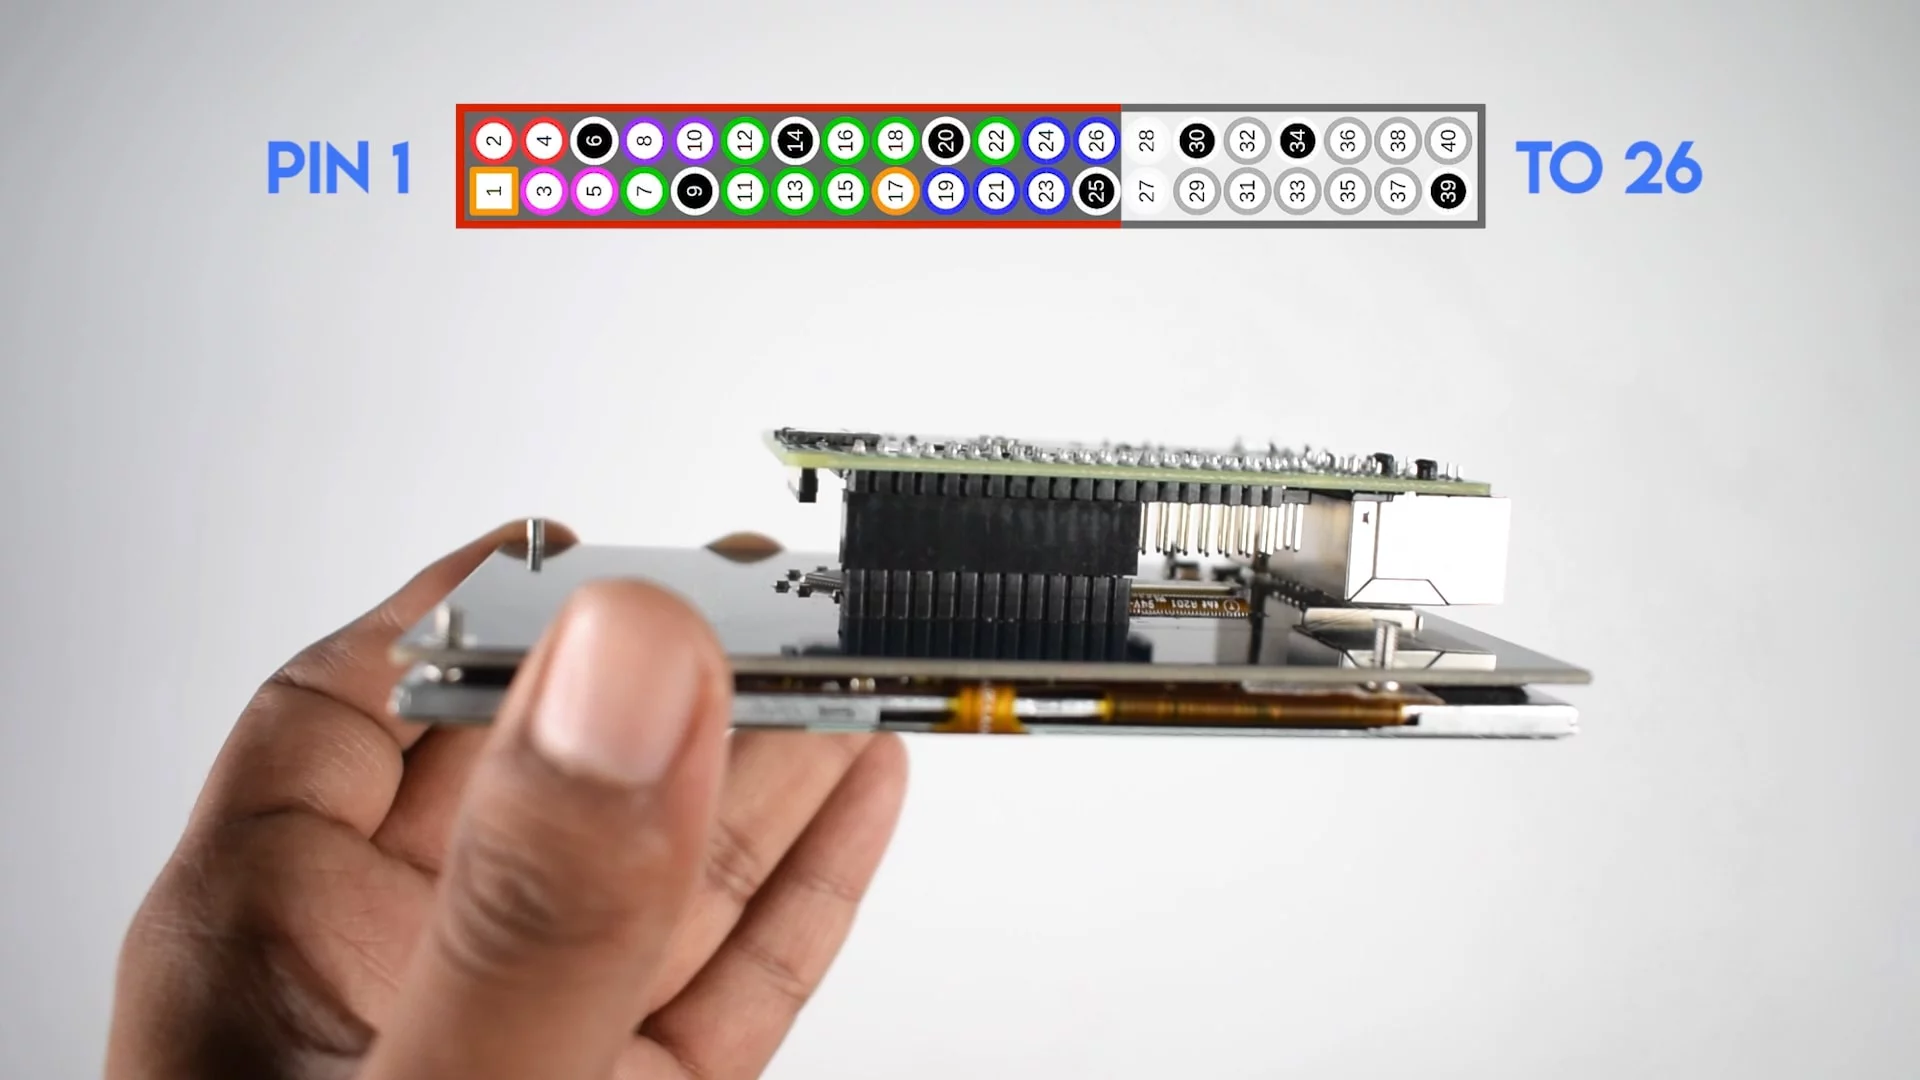
Step 2: Tight or lock the LCD to pi with standoffs if you have.
Step 3: Connect the pi micro HDMI port to the LCD HDMI port, using a converter. (You can also use the Micro HDMI to HDMI cable instead of the adapter.)
Step 4: To run the LCD you have to add some lines in the config.txt file located in the Micro-SD card, those will be the screen resolution and the touch code.
Step 5: Take out the Micro-SD card and plug it in any PC or a Laptop near you.
Step 6: In the Micro-SD card you will find a config.txt file, open it.
Step 7: In the bottom, you have to add the following lines:
max_usb_current=1
hdmi_group=2
hdmi_mode=87
hdmi_cvt 800 480 60 6 0 0 0
hdmi_drive=1
Note: These are the LCD resolution codes, not touch code. (works on almost 5-inch displays)
Step 8: To let the touch screen working, add these code at the last line:
dtoverlay=ads7846,penirq=22
Note: This is the touch code for the LCD I am using. In your case it will be different, first, try this code if it works then great. Or just replace the “ads7846” from your LCD model no. , you can find the model no. from the product page or maybe in the manual provided with the screen. But if you don’t want touch facility, skip this step don’t use this touch code.
Step 9: So you pasted the LCD code and the touch code at the bottom of the config.txt file, now save the text file and eject the MicroSD card.
Step 10: Plug the card into the Raspberry pi 4, now your LCD will work.
Congratulations !! So you just learned how to set up 5-inch touch screen LCD to the new Raspberry pi 4, actually an old raspberry pi 3 LCD into Raspberry pi 4.
How to Setup 5 inch LCD on Raspberry Pi 4 (Video)
Thank you for reading and watching our tutorial on how to install Raspberry Pi 4 Touch Screen LCD without any driver, hope this works for you. If you have any questions regarding this, feel free to ask in the comment section. Take care, Have a nice day.
Hi,
Thank you for the tutorial.
I tried but my LCD does not work with that fix 🙁 it says there is “no signal”. What do you think it could be missing?
Thank you.
Best regards.
Então foi muito bem a instrução, segui certinho e funcionou a resolução, mais o touch deu ruim… esta invertido, quando eu clico ou arrasto ela faz o oposto 🙁 pode me ajudar?
Resolution done but the touch not working
sir pl 3.5 inch lcd code
Here is my video tutorial on 3.5 inch LCD: https://www.youtube.com/watch?v=Fj3wq98pd20
Hur installerar man en 3,5 tums Raspberry Pi 4 Pekskärm LCD
Hur man installerar 3,5 tums Raspberry Pi 4 Pekskärm LCD