How to install 7 inch Screen touch LCD (Raspberry Pi 4)
How to install 7 inch touchscreen LCD (Raspberry Pi 4)
Hi guys! In this tutorial, I am going to show you how to install 7 inch touchscreen on Raspberry Pi 4. There is a decent variety of 7 inch LCDs out there and the well-known popular brand is Waveshare and Geekcreit, there are also alternatives available to these LCD brands.
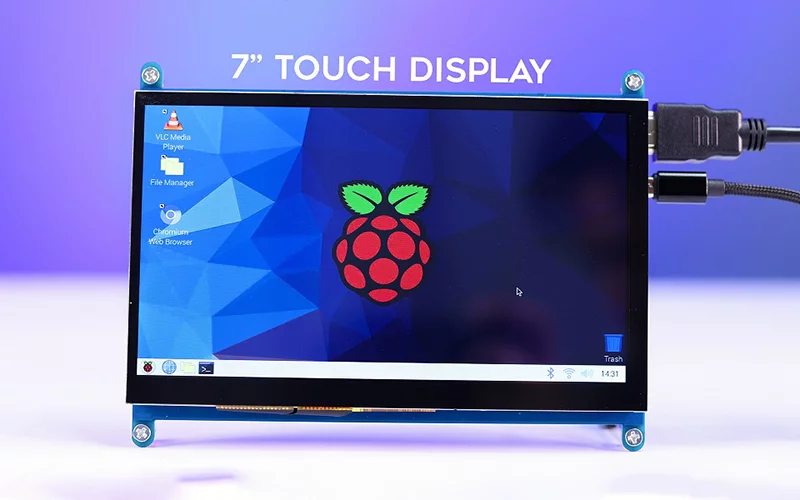
In this tutorial, I am using a 7-inch Waveshare HDMI LCD alternative CLB7INH touch display compatible with Raspberry pi, Lattepanda, and also on PC and Laptops.
This LCD comes in 2 versions, Type A is 800 X 480 in resolution and Type B is 1024 X 600 in resolution. Price is also different for each version, you can check in the table below.
So generally the Type B works great, no driver is needed for the display and touch in any Operating system like Raspberry pi OS, Windows 10, Ubuntu Mate, Kali Linux, Twister OS, or Android OS KngstaKong.
Just plug and play the Type B LCD to any device like Raspberry Pi, Lattepanda, or any Windows 10 device.
The Type A LCD resolution may occur problem by default, you need to add some command line in the config.txt file to work the display and the touch properly.
You will find the LCD code below, in case if you are not satisfied with the Type B model’s resolution I will also put the LCD code for both 800 X 480 and 1024 X 600 below.
Just follow the steps to install the LCD on Raspberry pi OS.
Note: Similar Installation may work in other ARM Operating Systems.
The 7 Inch LCD Used in the tutorial (Model: CLB7INH)
The table contains links for both versions of LCDs, Just make sure to select the versions.
7 Inch LCD (Type A, B)
So, you have the same or a similar type of 7 inches screen and you are going to run it with Raspberry pi. The first thing you need a memory card reader and a computer near you. Plug the card into the memory card reader and plug it on any PC or laptop, you can’t be able to see the Raspberry pi OS files but you will see a boot drive, there is a configuration file that you have to edit. Follow the steps below to continue.
How to install 800 X 480 7″ LCD on Raspberry pi 4
Step1: Eject the memory card from pi and using a card reader plug it into a computer.
Step 2: Open the Boot drive and find the Config.txt file and open it.
Step 3: In the Config.txt file scroll down to the bottom and add these lines.
max_usb_current=1
hdmi_force_hotplug=1
config_hdmi_boost=7
hdmi_group=2
hdmi_mode=1
hdmi_mode=87
hdmi_drive=1
display_rotate=0
hdmi_cvt 800 480 60 6 0 0 0
Step 4: Once these lines are added to the Config.txt, save and close it and eject the card.
How to install 1024 X 600 7″ LCD on Raspberry pi 4
The same process for this one also but use this code instead of above.
max_usb_current=1
hdmi_force_hotplug=1
config_hdmi_boost=7
hdmi_group=2
hdmi_mode=1
hdmi_mode=87
hdmi_drive=1
display_rotate=0
hdmi_cvt 1024 600 60 6 0 0 0
So, you successfully updated the Config.txt file in the card. Now plug the card into the Raspberry Pi and connect the LCD, hope its tutorial works for you. If you have any confusion in connections just check the LCD installation video from below:
Install 7 inch Touchscreen LCD on Raspberry Pi 4 (Watch Video)
Thanks a lot for reading and watching our Raspberry pi 7 inch LCD touchscreen installation tutorial, if you have any questions regarding this put your comment below. Have a Good day.