How to install Retropie on Raspberry pi 4 (In Raspbian)

Install Retropie on Raspberry pi 4 (Inside Raspbian OS)
Here again, Today I’m gonna show you how to install Retropie on raspberry pi 4. This is a bit different from installing just a retro PI Image to an SD card. So we have to install Raspberry Pi OS and then install Retropie inside of that Operating System. This method should get a lot of people up and go until retro pie officially releases their retro pie Image for Raspberry pi.
You are obviously going to need a Raspberry pi 4 1,2 or 4-gigabyte model that will work. I recommend at least a 32 gigabyte of SD Card and I’m going to use 64 for this blog and we also need another computer to install the Raspbian Image to the SD Card. In this blog, I’m gonna be using Windows but this also works for Linux or Mac. So with all of that out of the way lets get started.
How to install Raspbian OS (Skip if Installed)
Step 1: Firstly we need to download the free Raspbian image from the official website: Download raspberry pi
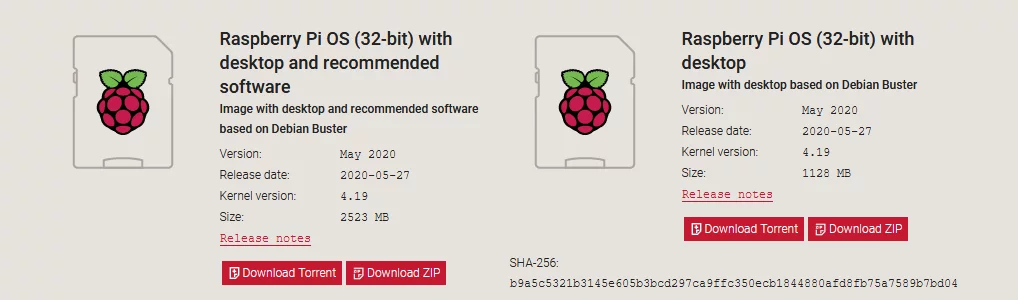
Step 2: Download the Raspberry pi OS (Desktop and Recommended Software)
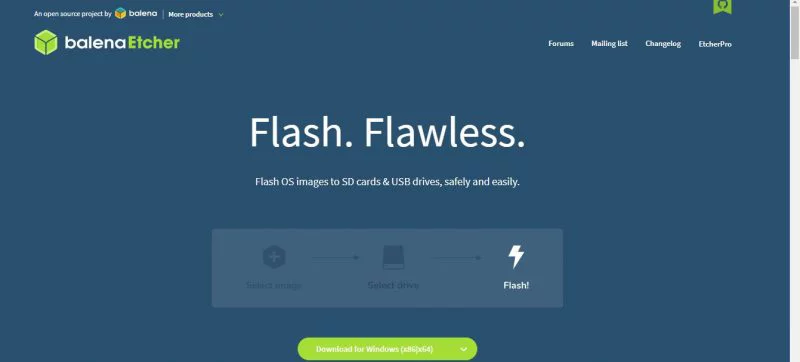
Step 3: Next, We also need to download an application to flash that Image to an SD Card from Download Etcher
Step 4: Place them on the desktop for easy access.
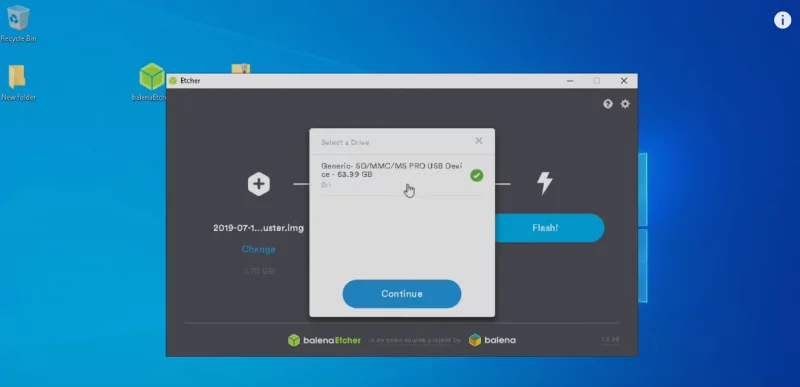
Step 5: At first, make sure that you have the SD card you want to flash insert it into your PC.
Step 6: From Inside of Flash application i.e. etcher select the option select Image and navigate to the location where you got your Raspbian image i.e. on desktop. And double click on the Raspbian Image. (if the image is compressed, uncompress using 7-Zip software)
Step 7: Then make sure you have the correct SD card chosen.
Step 8: And then click on flash, now it is going to install the operating system to the SD card. This could take a little while depending on how fast the SD card is.
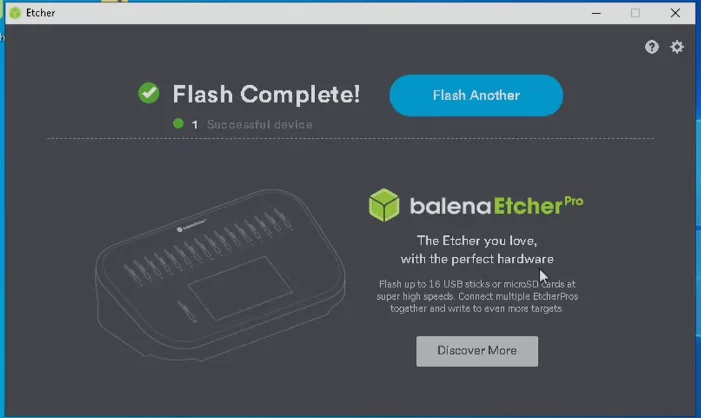
Step 9: You may receive a few warnings like Windows can’t read the drive just go ahead and close these down.
Step 10: Now its time to go to the raspberry pi 4. We are going to take this SD card and place it into the raspberry pi 4 we will plug in our HDMI keyboard and power.
Step 11: The first boots will take a little longer than normal and has to resize the partition and get everything ready.
Step 12: When all this is finish we will be redirected right into the Raspbian booster desktop.
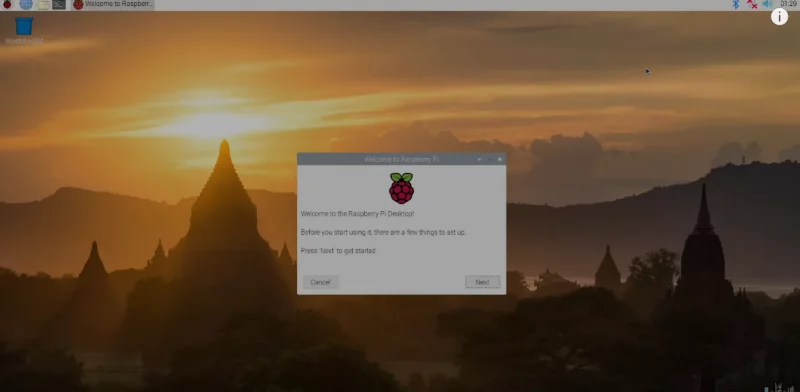
Step 13: Just click next to choose the country, language time zone then click next. You can change the password of the raspberry pi 4 and remember the password you are using here we will require it to connect to the Wifi later and if you are using Ethernet then just leave it.
Step 14: After completing the system do a restart.
Now we are ready to install retro pie. One of the good things about retro pie installed inside of Raspbian is the ability to just plug in a USB Drive and transfer our ROMs very easily we don’t have to use network transfer or anything.
How to Install Retropie on Raspberry pi 4 OS (Raspbian)
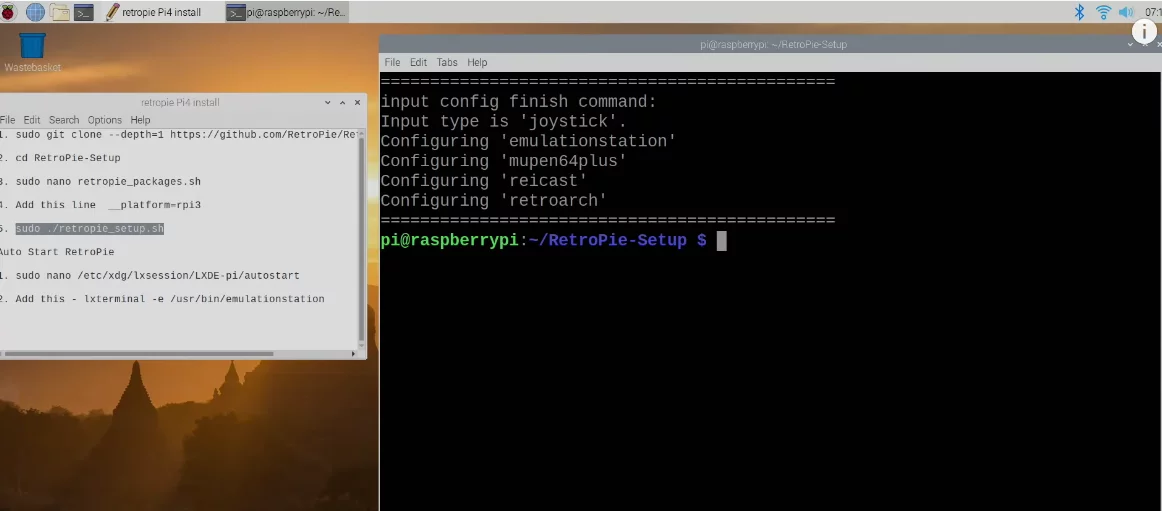
Step 1: The first thing we need to do is open up the command prompt by pressing ctrl alt T.
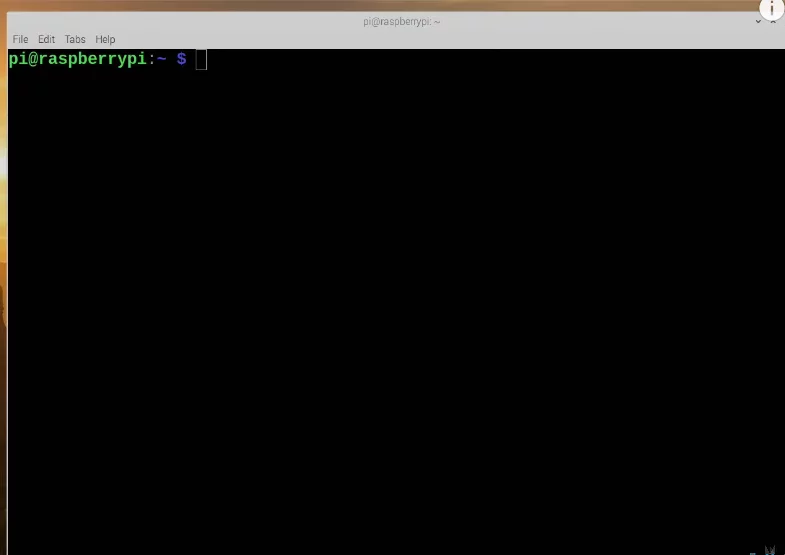
Step 2: Then we are going to load the retro pie setup script we are going to do that by putting in the command.
sudo git clone --depth=1 https://github.com/RetroPie/RetroPie-Setup
Step 3: That just downloaded the Retro pie setup.
Step 4: We need to enter into that directory by the command
cd RetroPie-Setup
Step 5: We need to edit the script a little bit that we are using raspberry pi 3. By the command
sudo nano retropie_packages.sh
Step 6: Add this
__platform=rpi3
beneath the version from the keyboard and then press ctrl X Y and enter.
Step 7: Now we can run the setup script by the command
sudo ./retropie_setup.sh
After finishing this screen will come.

Step 8: Then we will press enter for ok.
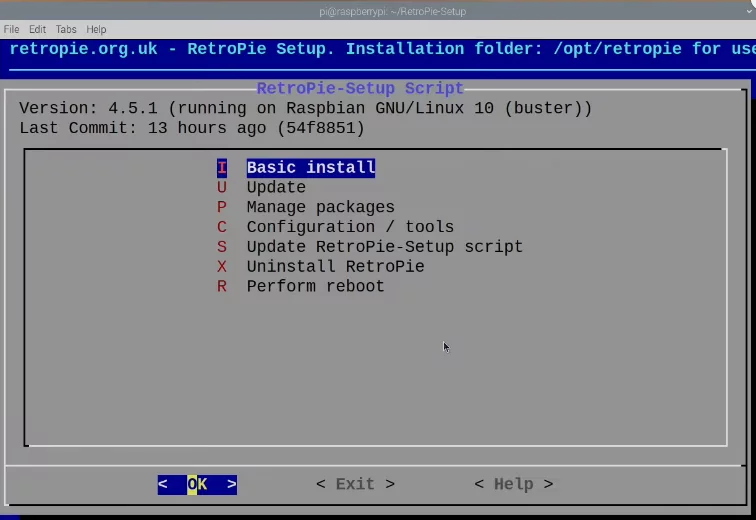
Step 9: And we are going to do the basic install press enter and then after that make sure yes is highlighted press enter. Now it will take some time depending upon the internet connection.
Step 10: After finishing up we have Retropie installed.
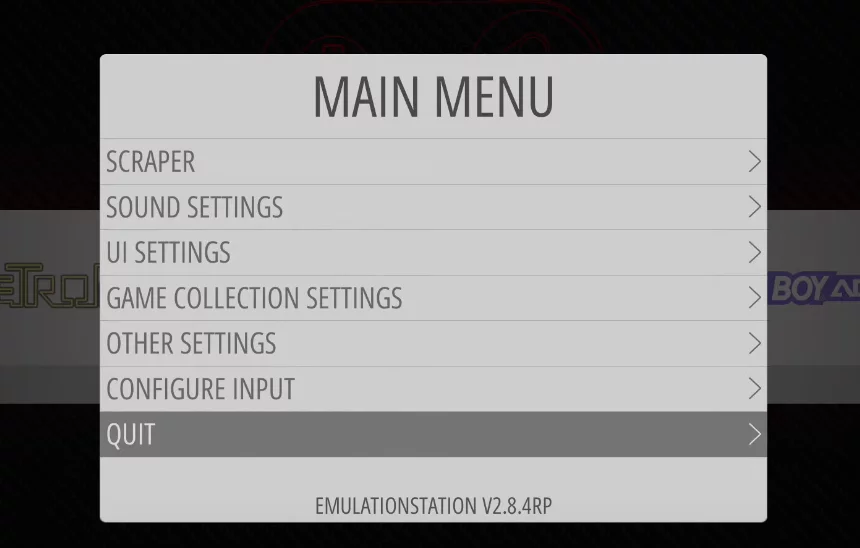
Step 11: Now its time to exit the setup script we are gonna go all the way down to exit and then start the terminal again and start the retro pie by typing in emulation station and then we are coming back to the desktop.
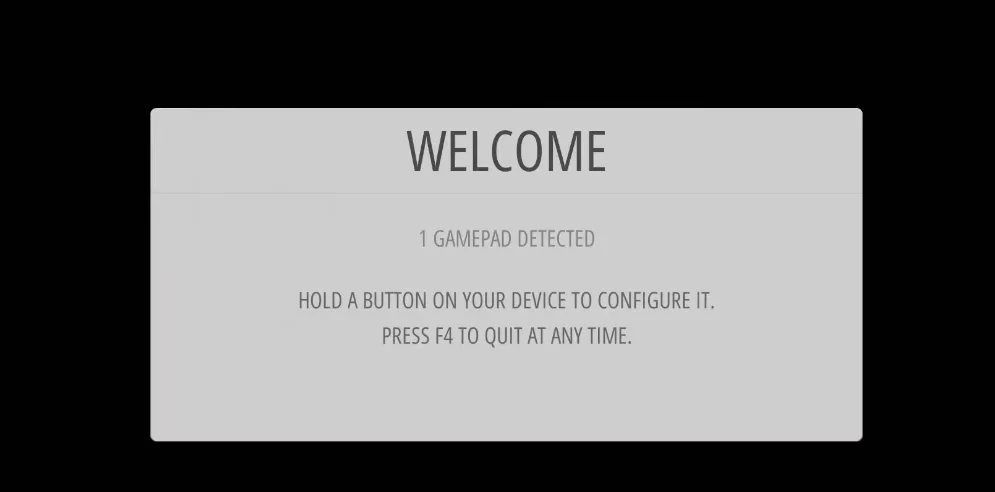
Step 12: The controller I’m using right now is an Xbox one controller connected over USB but you could use a PS4 controller and connect the inside of Raspbian from the logo up in the right corner for Bluetooth I’m gonna set up my Gamepad.
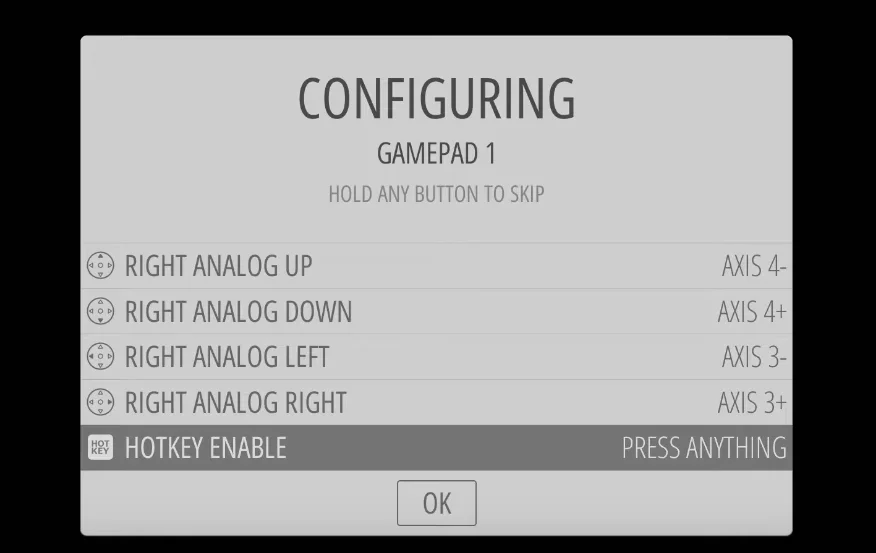
Step 13: And it is gonna walk us through setting up the controller. I will select hotkey to enable from the menu and click ok.
Step 14: And now we have retro pie installed on raspberry pi 4 but we do want to add some games.
Step 15: So from the controller we are gonna press start and quit emulation station this will bring us back to the Raspbian desktop.
Step 16: Now its time to add some games to retro pie. Just plug in your USB hard drive.
Adding Games To Retro Pie
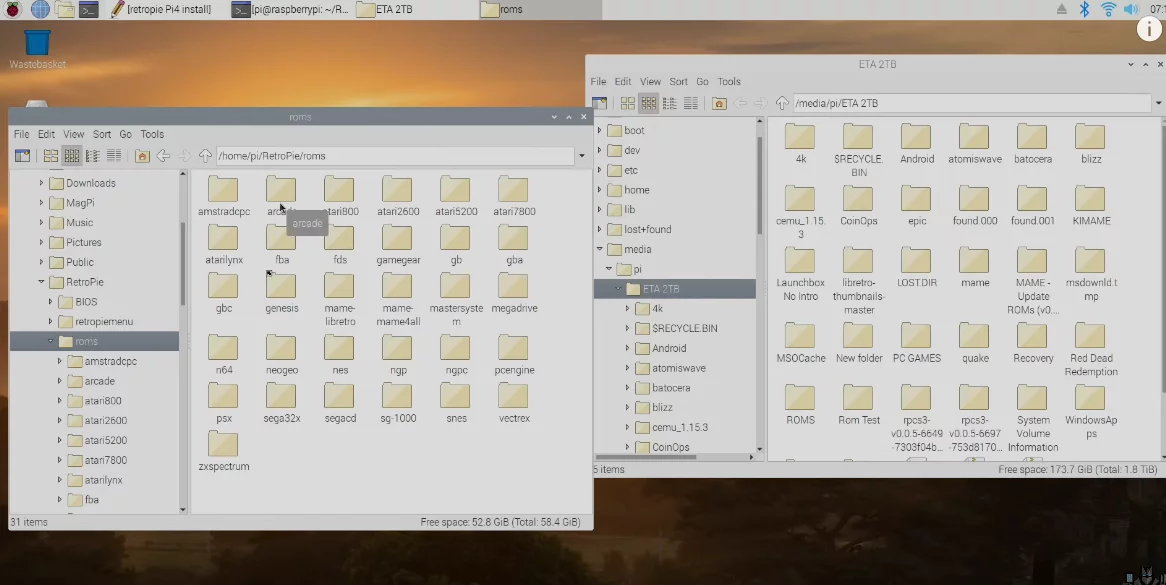
Step 17: On the right-hand side games inside my hard drive are shown and on the left-hand Raspbian file is opened and in Raspbian file manager there is a folder retro pie and all the ROMs are here we will go in the bios folder and from the hard drive, I just transfer some of the SNES games.
Step 18: And just place some SNES games to ROMs SNES folder.
Step 19: Then again open the terminal and start the emulation station.
Raspberry Pi Loads Retro Pie Games
Step 20: And as you hit enter raspberry pi loads automatically with retro pie games
Step 21: Then press start on your controller go to the scraper.
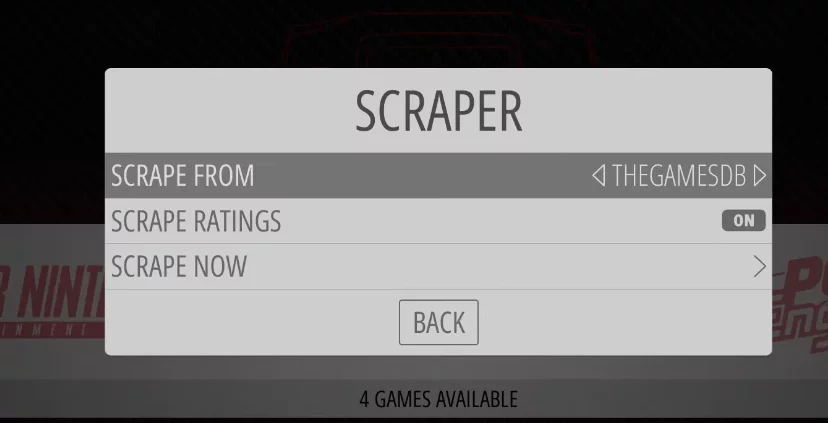
Step 22: Then click on screen scraper scrape now.
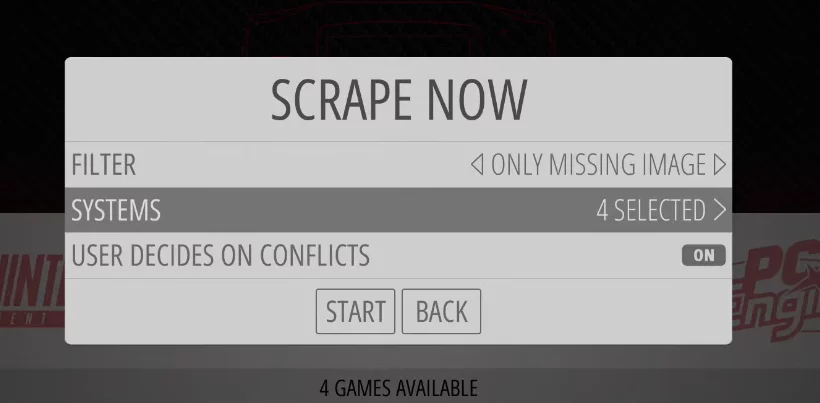
Step 23: Select systems and for now select only one instead of four.
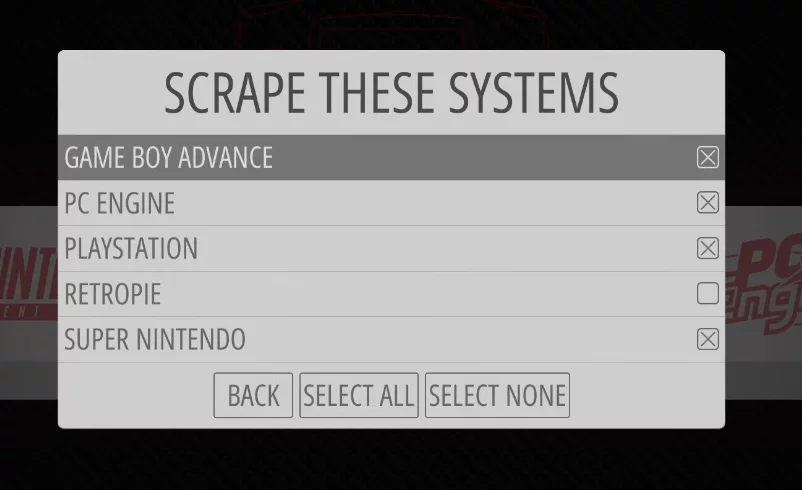
Step 24: So deselect all the three and select one. And then click back.
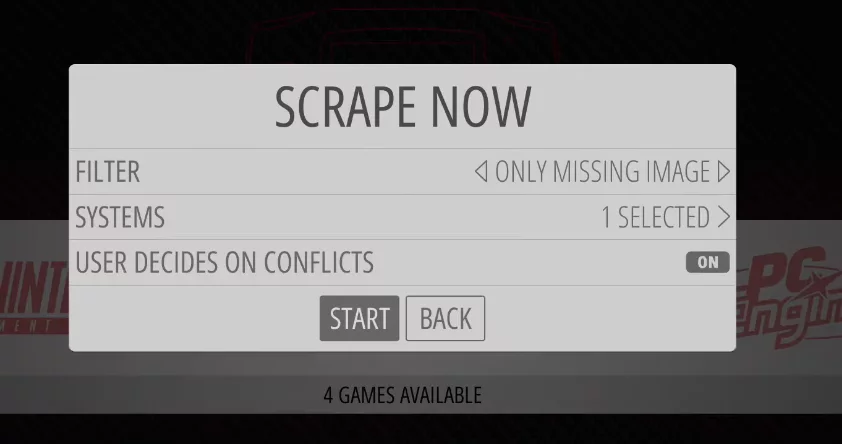
Step 25: Then click start.
Step 26: And we will go into game boy advance.

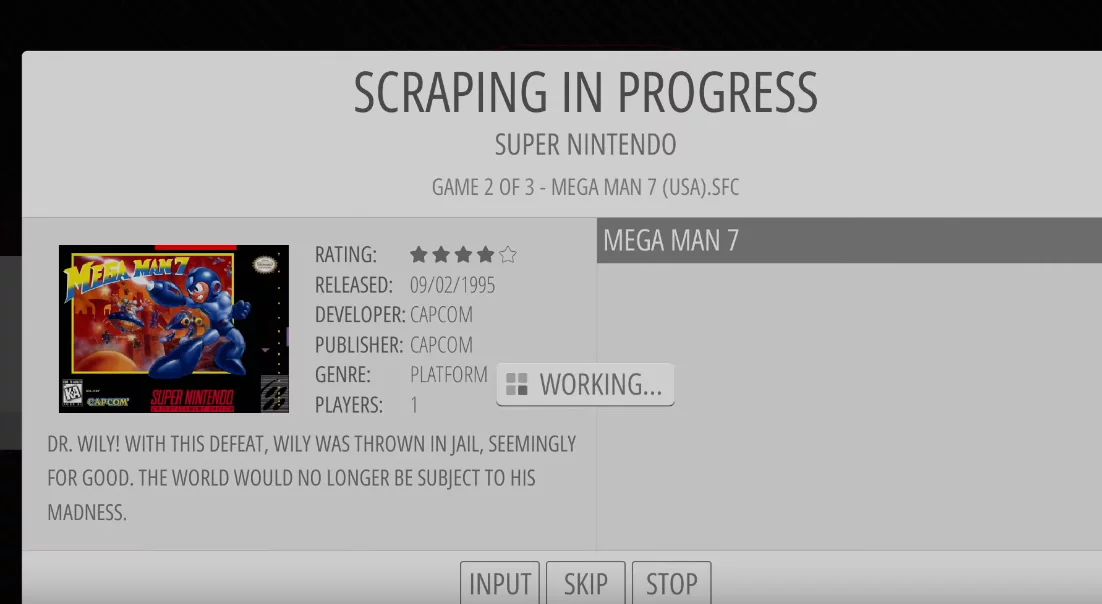
Step 27: As you can see I had four games nothing has scraped yet.

Step 28: But I did scrape my super Nintendo.
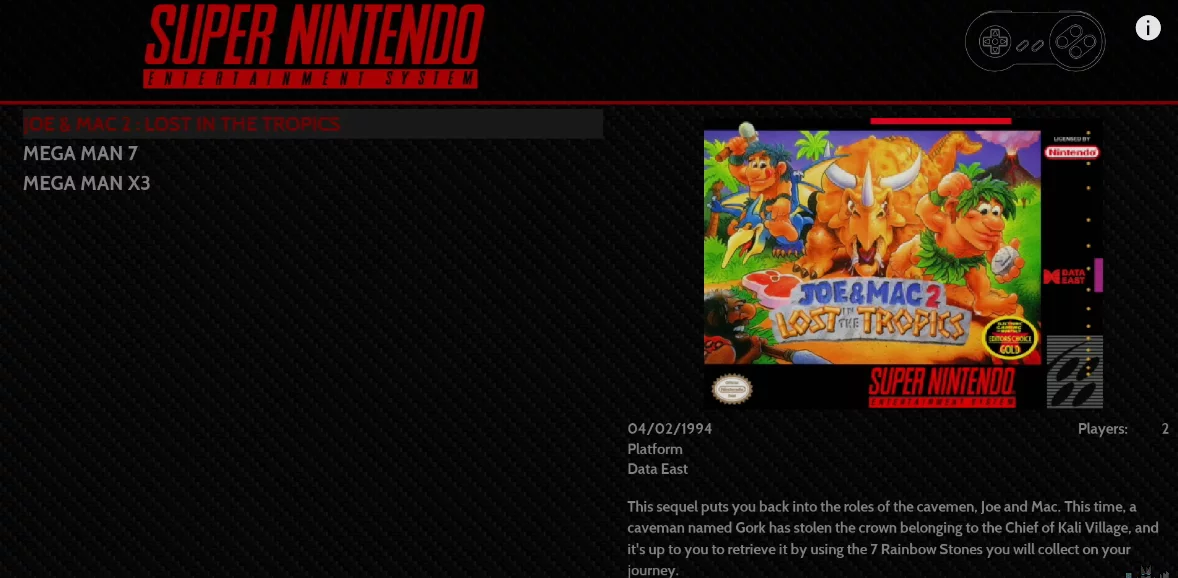
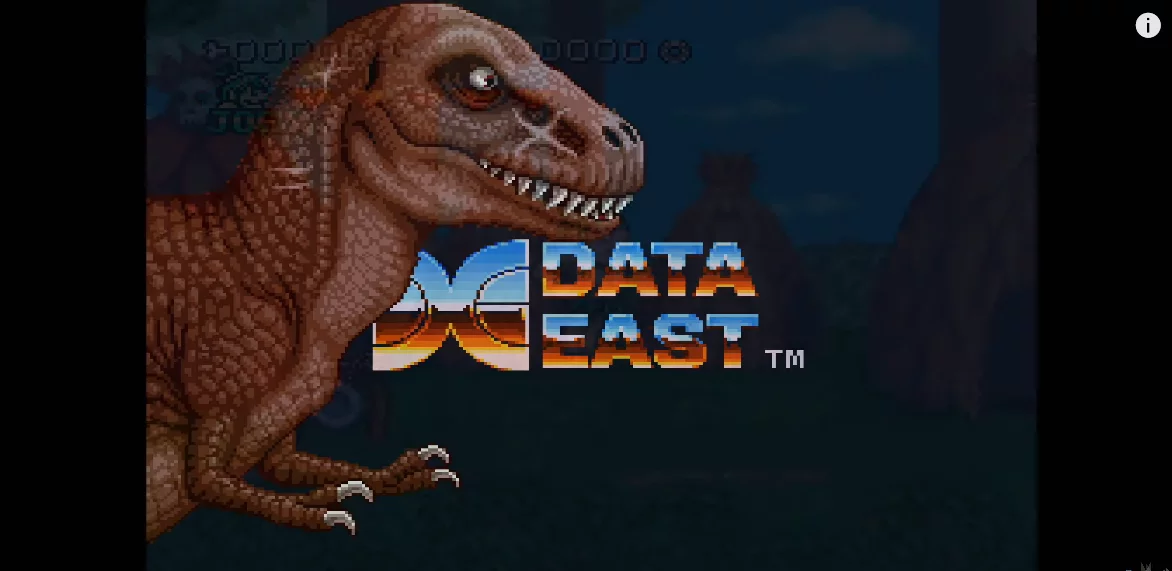
Step 29: We will get into joe Mac 2 and you are now playing SNES in the retro pie on our raspberry pie 4.
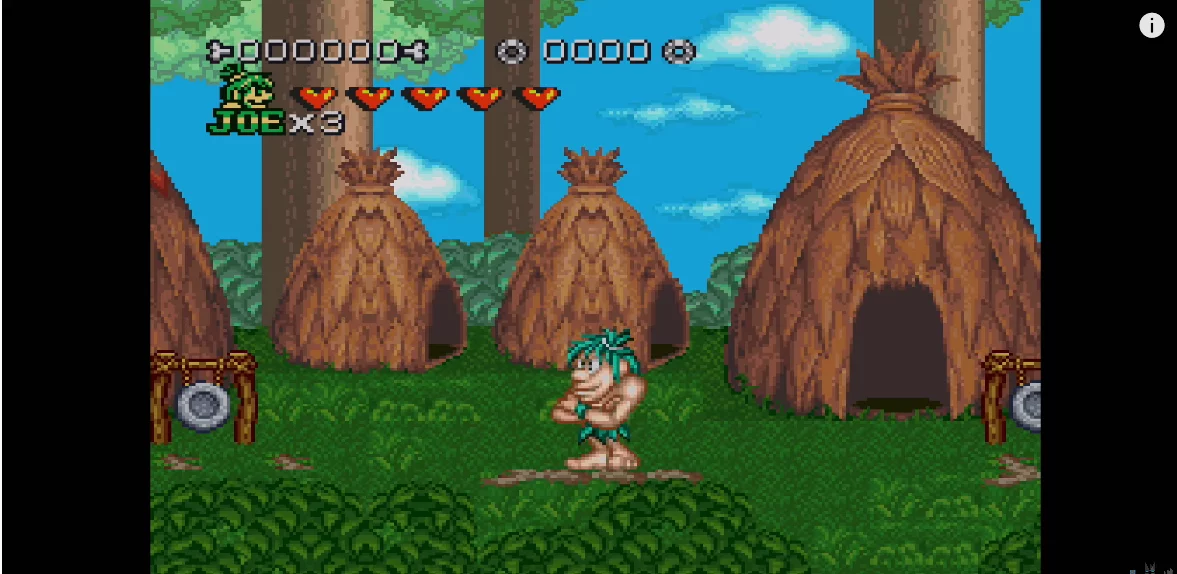
Step 30: And yes it sounds working. So In order to exit we are going to press our hotkey and start. It will bring us back to the emulation station. Now its time to set it up. It automatically boots up to retro pie.

Step 31: Write the command
sudo nano /etc/xdg/lxsession/LXDE-pi/autostart
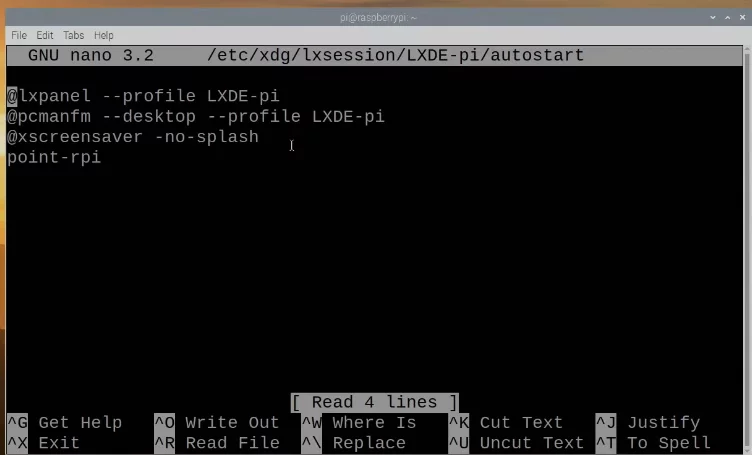
Step 32: And from here use arrow keys all the way down under point-RPI and add
- lxterminal -e /usr/bin/emulationstation
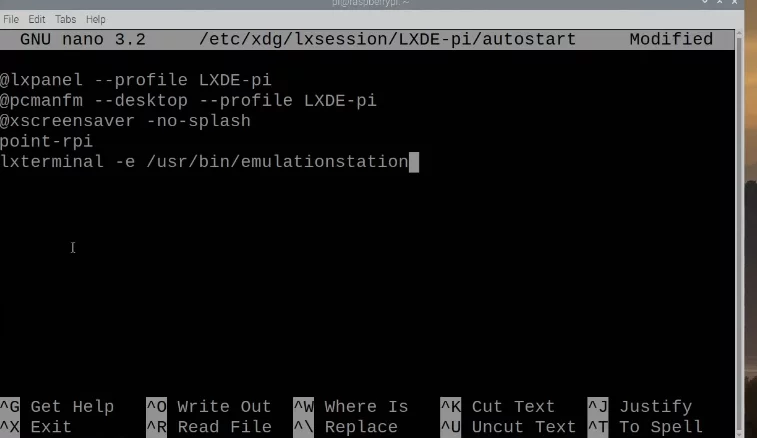
Press Ctrl X and Y and then enter and now every time we start up our raspberry pie it boots directly into Retropie. Now restart by entering the command sudo reboot or we go up to the raspberry pi logo and restart from here.
Congratulations, Now you have retro pie installed on your raspberry pi 4. And you also know how to install games in Retropie. If you have any questions please let us know in the comment section below. Good luck has a nice day. Keep learning and stay with us for more information on raspberry pi and many new technologies.
I’ve done all of the Pi 4 content correctly, I add a retropie game, but when I click on which game it shows me the game selection again.
Just got my RPi and was looking for something like this, so finally i can get some retro games going, though I need my Raspian desktop coexisting, which solved my problem, not only running Retro Pie, but running Retropie on top of Rasbian, thank you.
You are welcome 🙂
Hi there, thanks for the tutorial. I have a new install of raspbian on a pi4. I went through all the steps above, booted into the CLI, ran emulationstation and I get an error message:
“* failed to add service – already in use?”
Would you have any ideas?
Thanks.