
How to Use laptop as Monitor (Second Monitor)

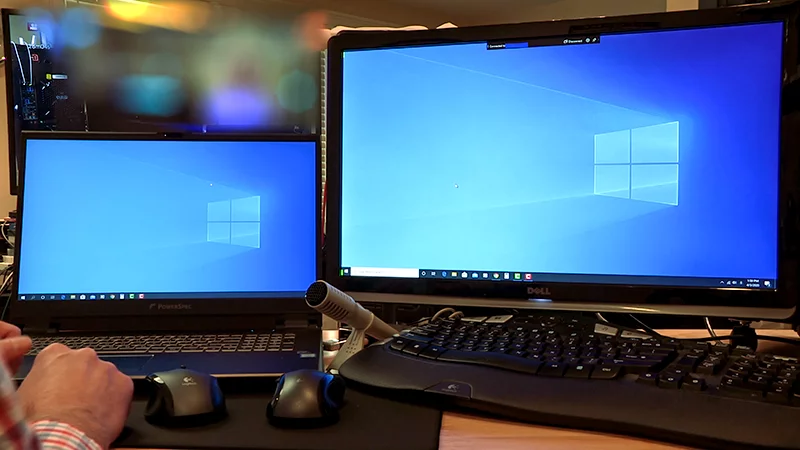
Hello Friends, Today I’m here with another interesting article that is how to use your Laptop as a monitor. This might sound impossible but it can be possible after you refer to this post. And once you know how to do it. It will take a few seconds to set up.
This is specifically for Windows computers and I recommend you to use Windows 10.
This process depends on both the computers being connected to the same network and the target device. And one more thing that is your target device i.e. laptop will be connected to a WiFi.
So let’s begin the post on How to Use Laptop as Monitor.
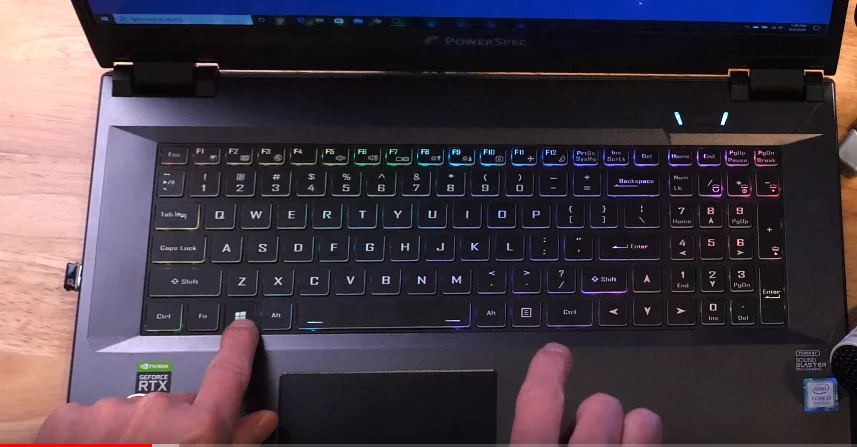
Step 1: Get On to your laptop and hold down the Window key. The one that looks like the Window logo and simultaneously presses the P key.
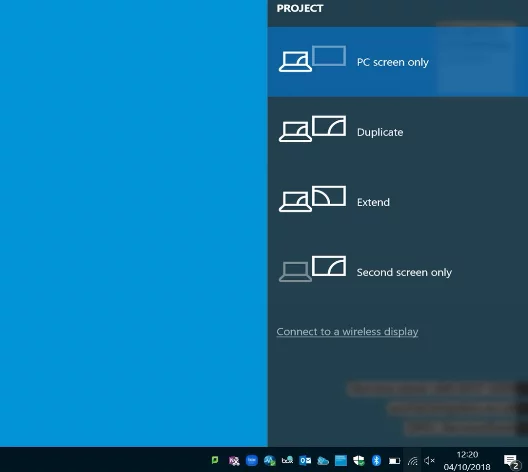
Step 2: Over here on the right, you will see a grey area that pops out. Click the link that says connect with wireless devices.
Step 3: After clicking, near the bottom it will say projecting to this PC. Click the link and you will see a page.
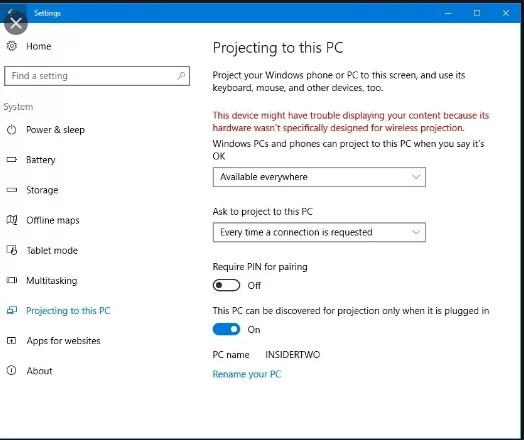
Step 4: A page with settings you can adjust to how your laptop will behave when another desktop connects to this as a wireless display. The first drop down whether or not this computer is available as a wireless display.
And when this is available you probably want to set is everywhere on secure networks or it can also set to be available everywhere which would include when you are logged into a non-secure network and finally you can set it to always off if you don’t want this device as a wireless display.
Step 5: Next you can specify what happens when a computer wants to connect to or project to this PC. If you set this to every time a connection is requested you will have to approve the use of this PC as a wireless display each time you or someone requests it. If you set this to the first time only you only have to give permission to other PC once and from then on the wireless connection will not require approval from this PC.
Working On Private Or Safe Location
Step 6: If you are working in a private o