How to Install Cooler Master Hyper 212 LED on LGA 1151
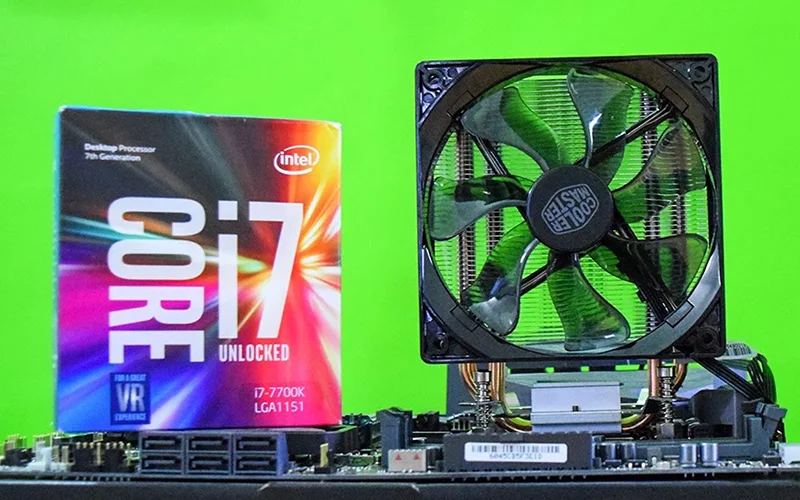
Hi friends, let’s see how to install cooler master hyper 212 LED on Intel LGA 1151 socket motherboard. Today i am installing Cooler Master Hyper 212 LED CPU Cooler for my Intel core i7-7700K Processor on Asus Maximus Hero IX Motherboard. If you are building a 6th or 7th Generation gaming PC and getting confused how to install CPU and Cooler fan then follow my guide i am here to help you out.
– Advertisement –
– Continue Reading –
Below are the step by step instructions you have to follow it or you can also watch a video tutorial embed in the bottom or the post. So, here is How to Install Cooler Master Hyper 212 CPU Cooler.
How to Install Cooler Master Hyper 212 LED (CPU Cooler)
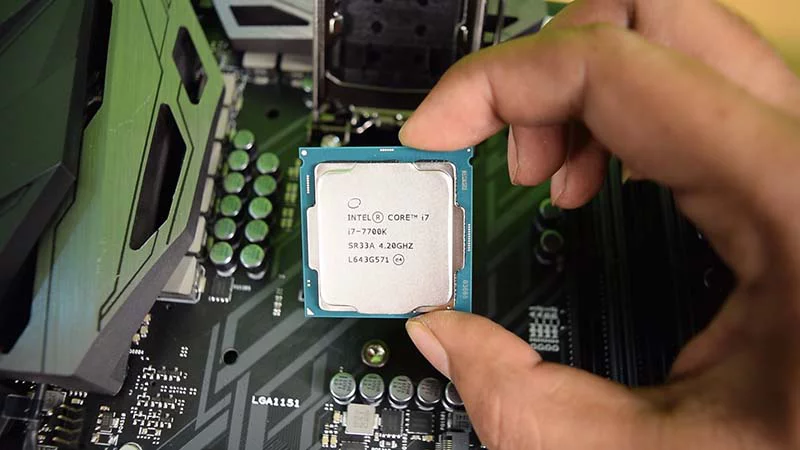
Step 1: You have already installed you CPU on your motherboard , then unbox your CPU cooler.
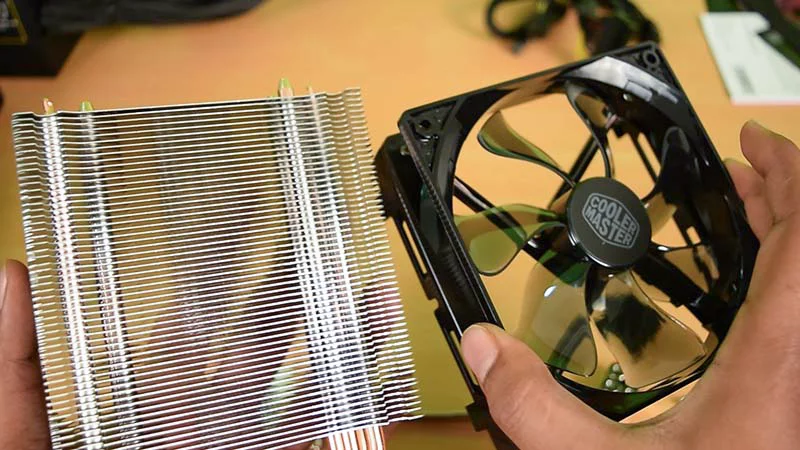
Step 2: First you have to unplug you fan from the heat sink Carefully. (just push the 4 clips)
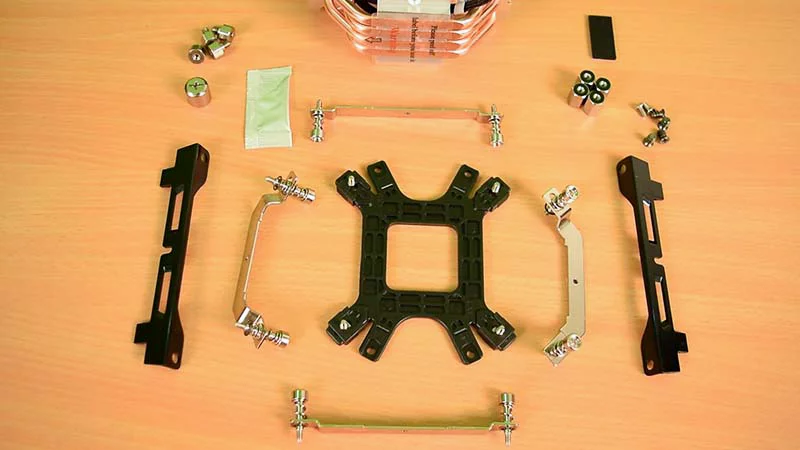
Step 3: Now you have these Mounting tools (Nuts, Screws, Gear, and cooling paste). Confused which are the right one !! Just Follow next step.
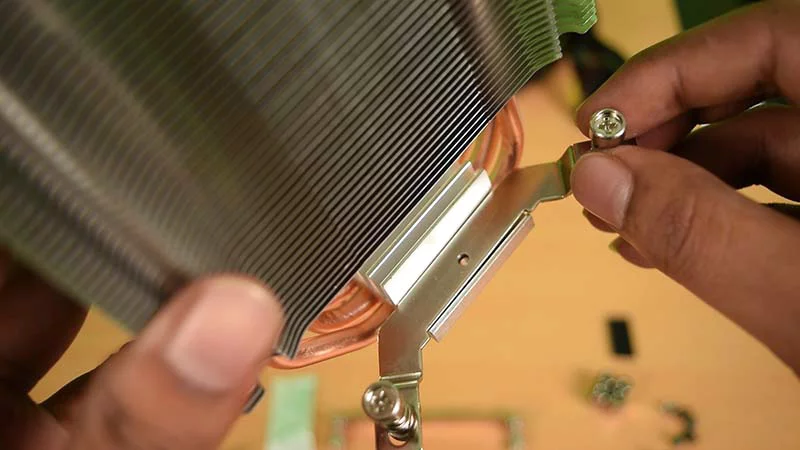
Step 4: We have Intel Socket just use this mounting too and put it as shown in above image.
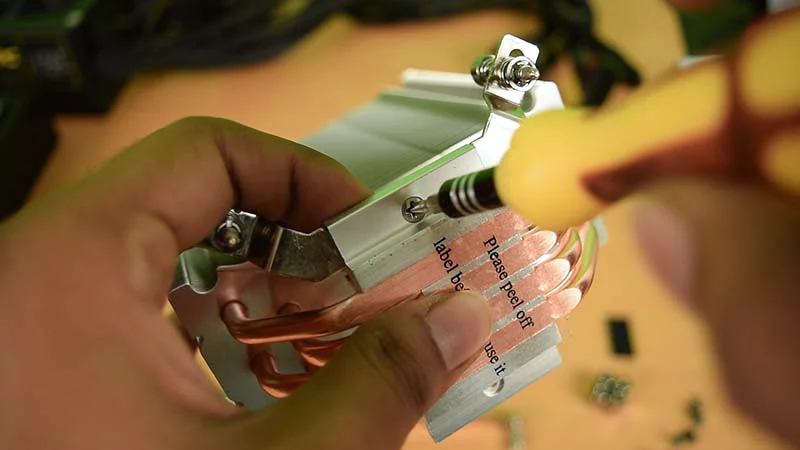
Step 5: Using a screw tight it from the back with the help of 4 head screw driver. (Screw given with Cooler)
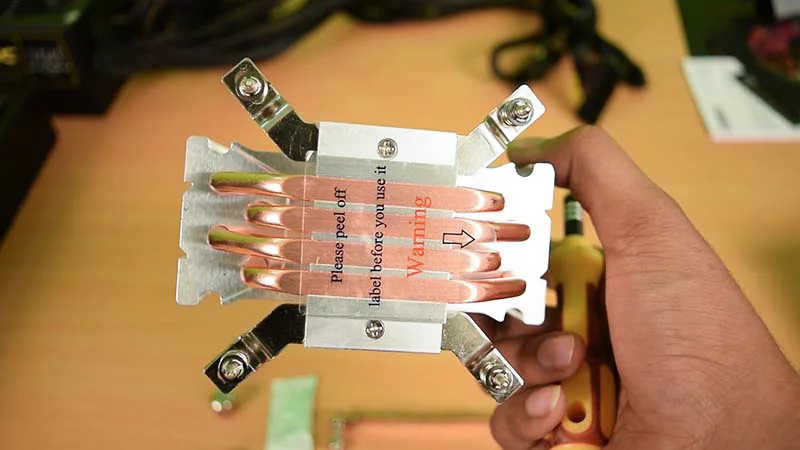
Step 6: Tight the mounting tool on the other side also , your CPU cooler will look like this.
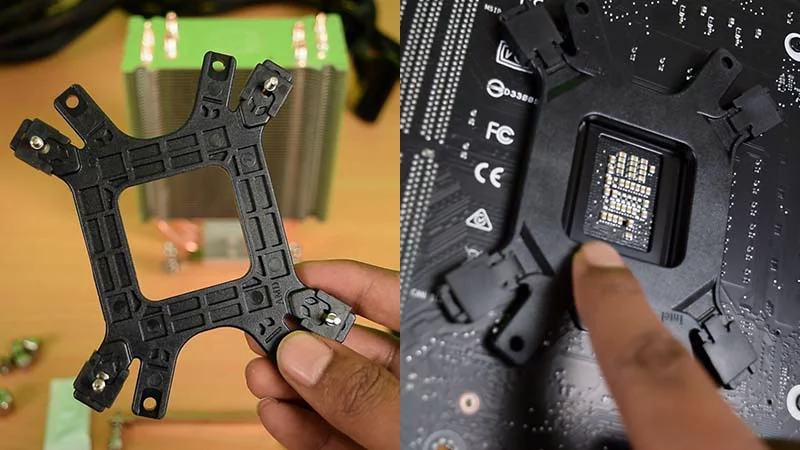
Step 7: Now take out the spider given with cooler and plug it in the back of the mother board align to 4 holes.
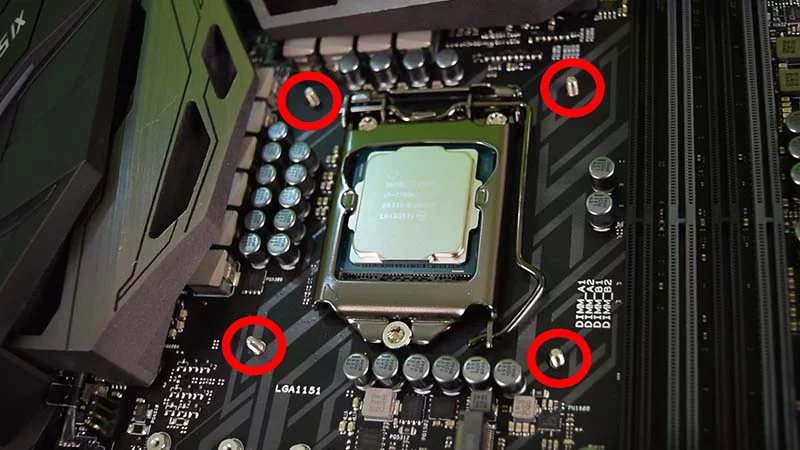
Step 8: It will pop up from the motherboard holes, like the image above.
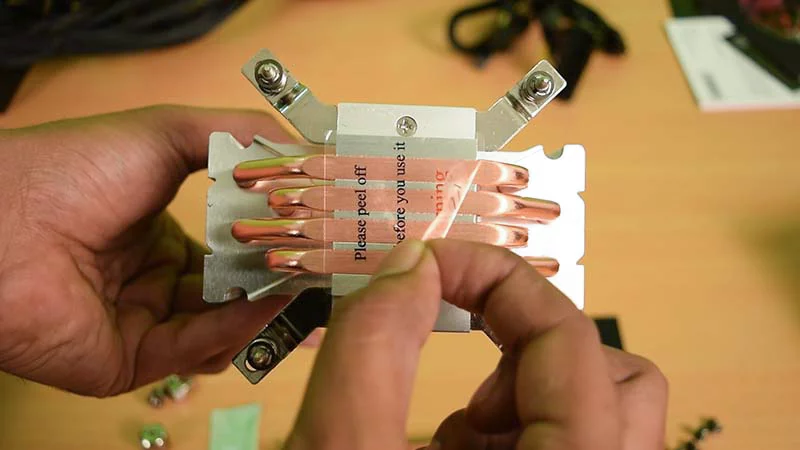
Step 9: Now this is important , do not forget to remove the plastic cover from the CPU cooler Before installing.
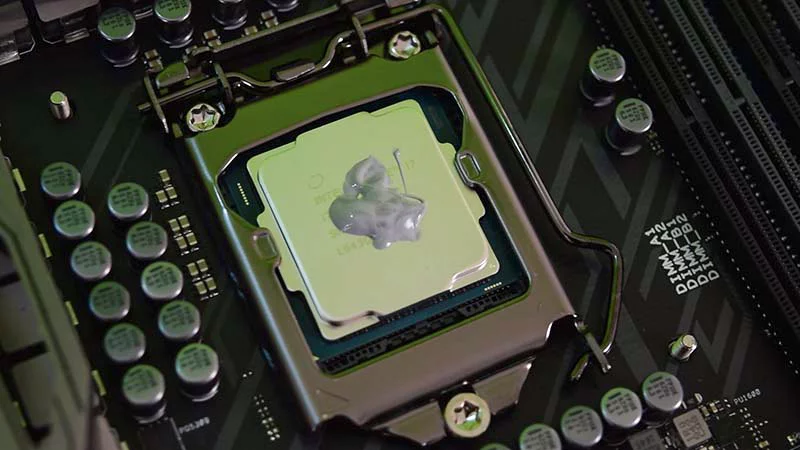
Step 10: Apply a little bit of cooling paste on your CPU , don’t use too much and don’t use less then above image.
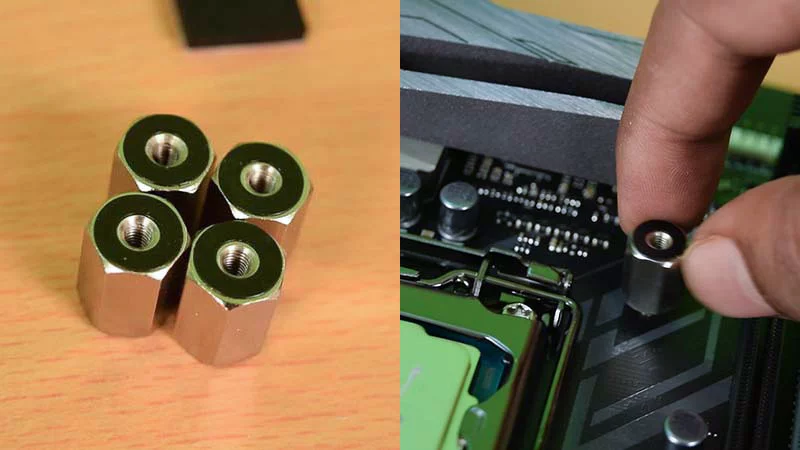
Step 11: Now take out the dual bolts and tight it on every point of the spider like above image.
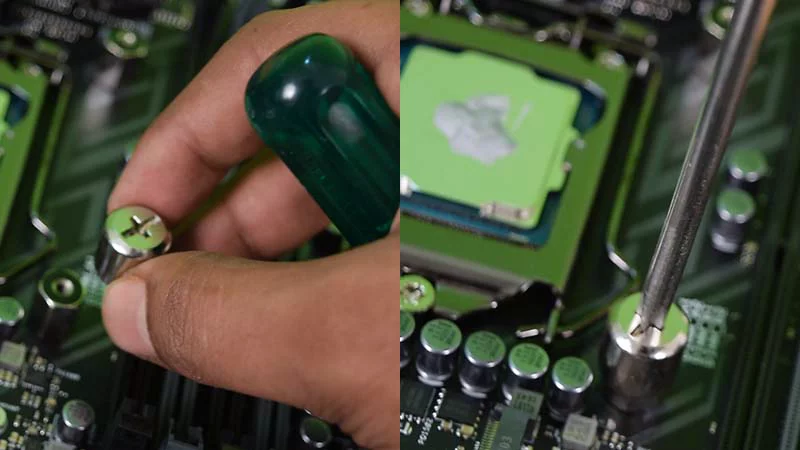
Step 12: Double tight those dual bolts by this tool using the screwdriver as shown in above image.
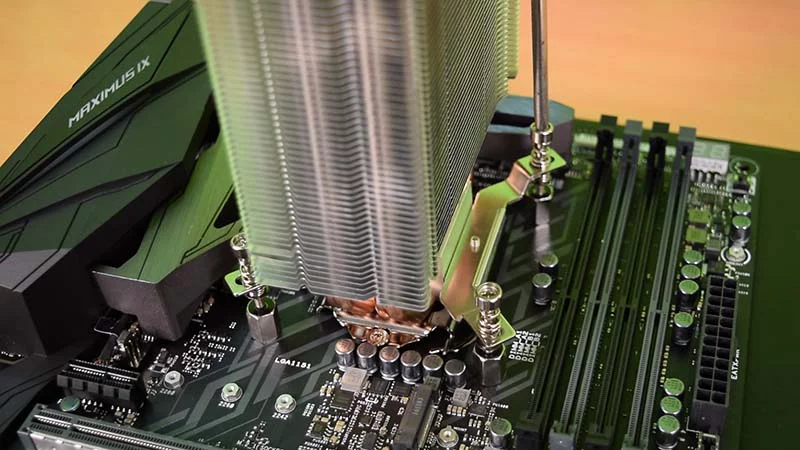
Step 13: Put the cooler align to those dual bolts and tight all screw equally with screwdriver.
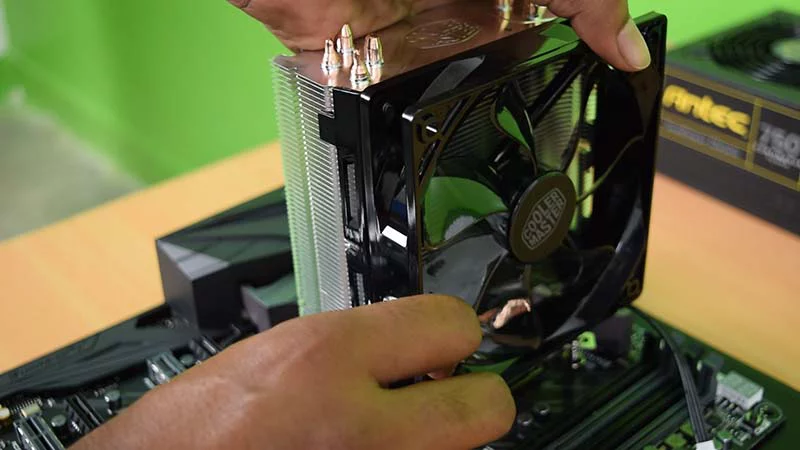
Step 14: Now fit the fan to the heat sink as before , just push to fit.
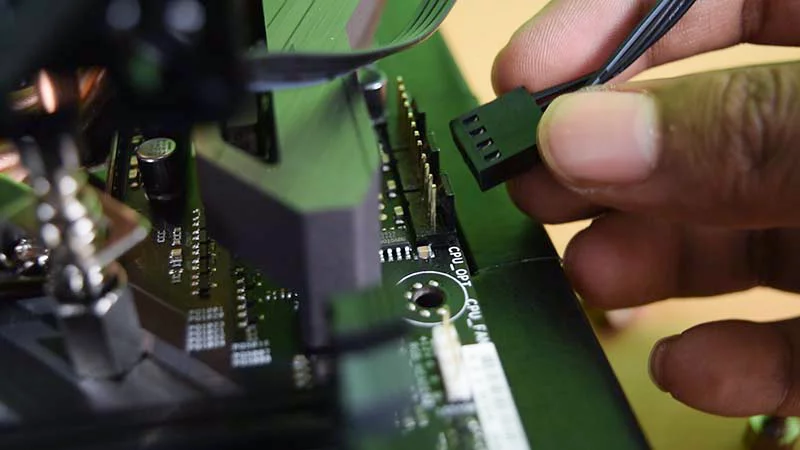
Step 15: Connect the cooler plug to your motherboard’s CPU_FAN Socket. (May be you need to read motherboard manual to find the right socket)
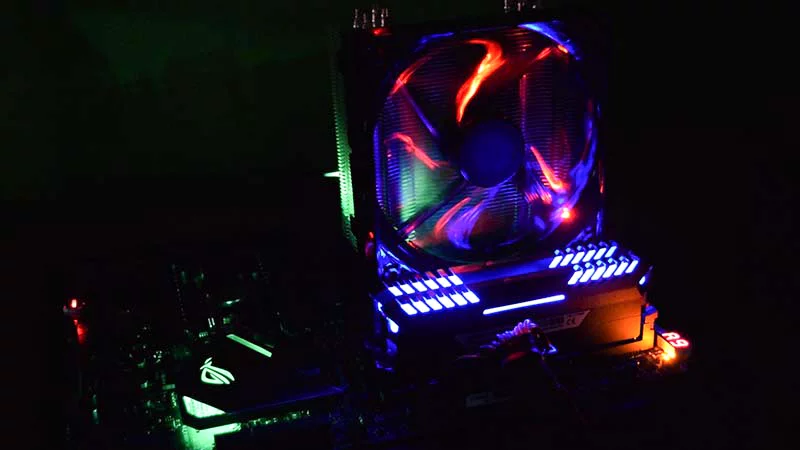
Congratulations !! You have successfully installed your Cooler Master Hyper 212 CPU Cooler on Intel LGA 1151 motherboard. (Tip: check your setup before assemble it in to case, Insert RAM and Plug a SMPS to check.) If you have any questions please comment below and you can also watch a video tutorial to perform these steps , find the video below. Hop you learned how to Install Cooler Master Hyper 212 LED. Thank you for reading , Have a Nice Day 🙂



Made the whole process as smooth as could be. Great work! Thanks
Welcome to Trick i Know , Have a Nice day 🙂
Welcome bro 🙂
thank you for the clear explanation and the clear pictures.
Hi. its a nice proceduce. I have a problem, I own the maximus hero X, and notice that the back of the motherboard is not clean, and the back plate to secure the hyper Evo 212, or others, some components in the back of the motherboard may get it touch. I have not seen any one on internet, installing evo 212 on maximus hero X, what do you think about do in so.
Do you even know that aftermarket coolers HAVE thermal paste on it?
Ya those are awesome too, but you have to reapply cooling paste after 1 year 🙂
Thanks for an informative video. Great pictures.
You are welcome 🙂