How to Install SSD and HDD together in Laptop (with Caddy)
How to Install SSD and HDD together in Laptop (with Caddy)
In this post you will learn all you need to know about how to install SSD and HDD together in laptop with HDD using a 2nd HDD Caddy. Basically in old laptops which has only 1 Sata Hard Drive slot, there is not any other m.2 SSD slot. All it has a useless Dvd writer, that is not actually useless in other terms. Because, you can use that place to install another Hard Drive.
First look what is the difference between HDD and SSD, Both are Hard Drives which contains the OS (operating system) to boot Windows or Linux. More these are known as data storage drives to store your personal data on.
– Advertisement –
– Continue Reading –
But, what is the difference?? The key difference is Speed. Yes, HDD is old now, it has a metal disk which spins Evey time you use it and, it’s very slow. Wheather SSD has not spinny disk, it runs on memory chip. That’s why SSD is 5x faster than HDD.
So, you probably need SSD for faster boot time and, incredibly fast performance while working or even for playing games. Time to replace HDD with SSD, But if you search SSD online you will see different types of SSD available to purchase. Yes, you will see M.2 Nvme SSD, M Sata SSD and Normal 2.5 inch Sata SSD. Which one is supported by your laptop?
As you have an old laptop, in that time m.2 slot was not invented, only your laptop will support the 2.5 inch Sata SSD. So, It’s time to upgrade your laptop by selecting the best SSD out there in market.
Best Sata SSD for Laptop and Why?
There are lots of SSD brands out there, to make it easy to understand I will break them into 3 category. Cheap, Mid-range and, Costly. Money matters right!! But there is one more thing matters and that is Speed. Yes, SSD also comes in different read write speeds. So, below are my favorite SSD brands. To just for OS installation purpose i picked 240Gb SSD below, if you need for storage purpose you can go with 500Gb, 1Tb or 4Tb in the product page.
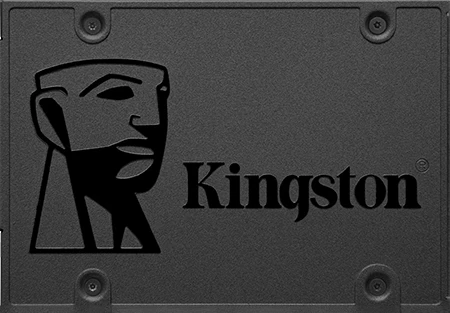
#1 Kingston SSD (Low Profile)
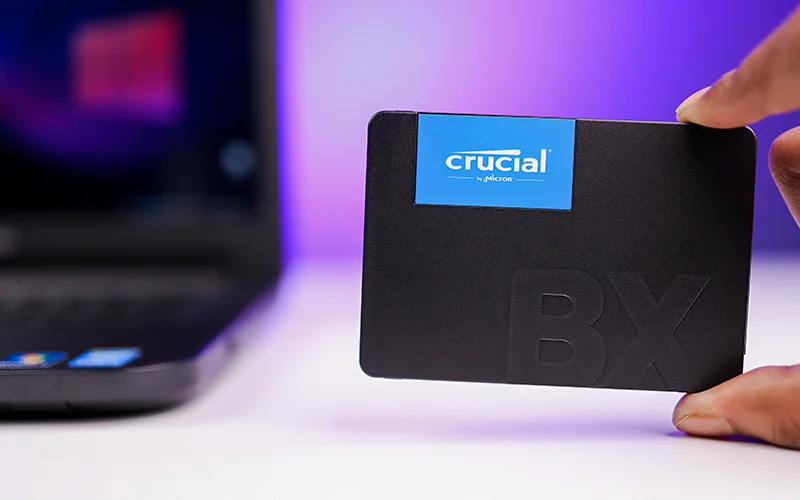
I used Kingston SSD many times for my clients and, it did its job well. It’s a budget friendly drive, comes in different capacities. Most seller is the 128gb and, even the 240gb. Mostly used by office users, for lite works like Microsoft office, Emails, YouTube, chatting etc. This SSD delivers Read speed of only 500 Mbps and, the Write speed of 300 Mbps.
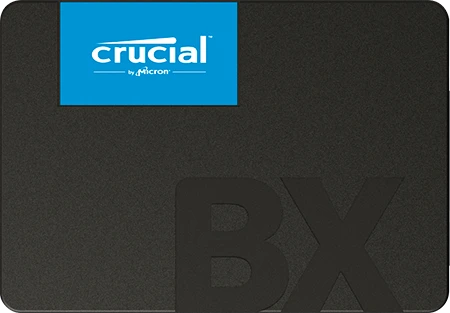
#2 Crucial SSD (Mid Range)
This is the cheap and best SATA SSD, in the term of price point and, Speed. Crucial SSD delivers Read speed of 540 Mbps and, the Write speed of 500 Mbps. Faster than a Kingston SSD i mentioned above. This can be used for both official work and for general gaming too.
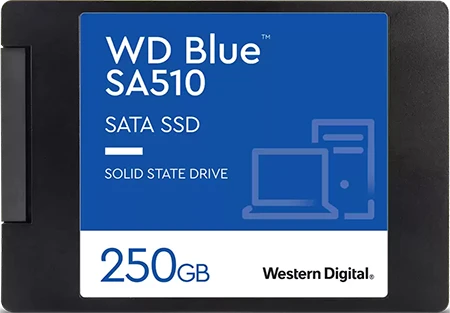
#3 WD SSD (High Range)
Western Digital is the most sold SSD in market from years. Famous for high Read Write speeds and, durability. It delivers Read speed of 555 Mbps and, the Write speed of 440 Mbps. Best for office, gaming and, even for Video Editing.
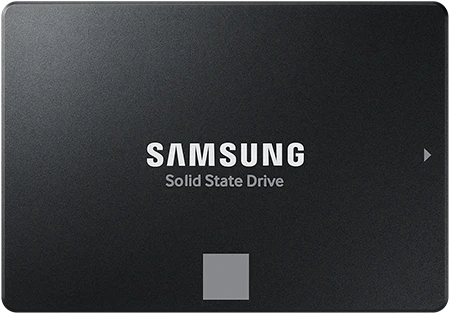
#4 Samsung Evo (Extreme)
This is for mad people, who don’t want to miss any single performance in heavy work. Like competitive gaming or works like animation or After Effects. Samsung Evo delivers Read speed of 560 Mbps and, the Write speed of 530 Mbps. This is one of the costly SSD in market but it worth money out of you pocket.
– Advertisement –
– Continue Reading –
How to install SSD and HDD together in Laptop (replacing)
To install SSD in an old laptop, first you have to check back of the laptop.
Step 1: Remove the laptop battery if its removable.
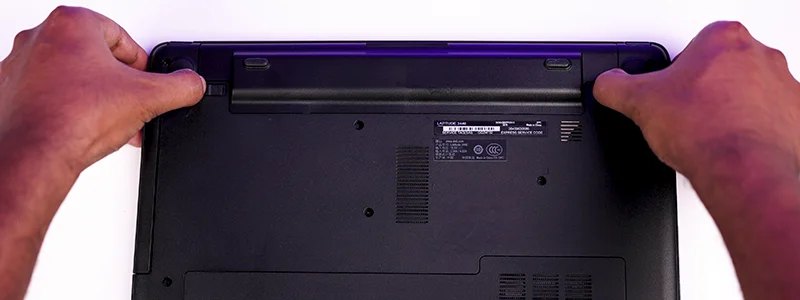
Step 2: Then if there is removable back cover then you are easy to go on.
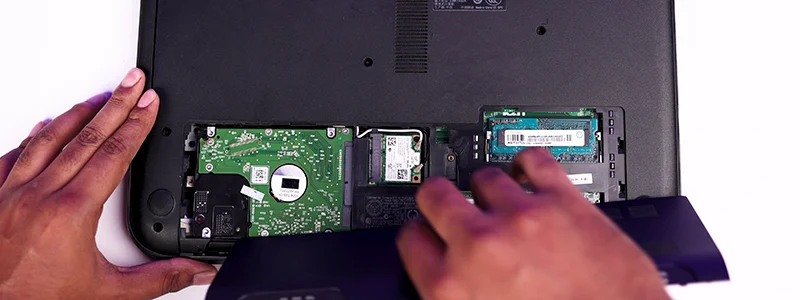
Note: If not then you have to open your whole bottom base of your laptop for the help you can watch disassembly video of your laptop model.
Step 3: Once you opened the back cover of the laptop now simply unscrew the HDD screws.
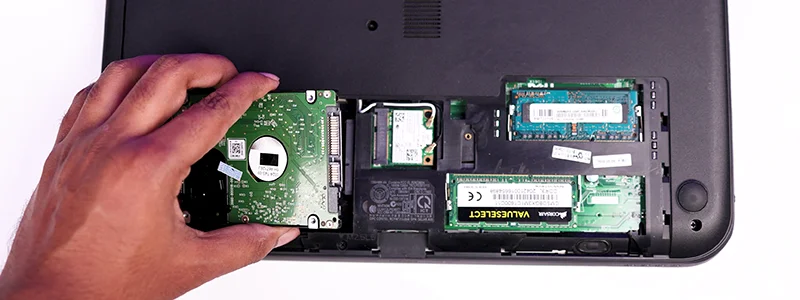
Step 4: If the HDD is mounted in any type of case take out it from the case (different laptop has are different cases.)
Step 5: Now tight the case to the SSD same as it was on the HDD before.
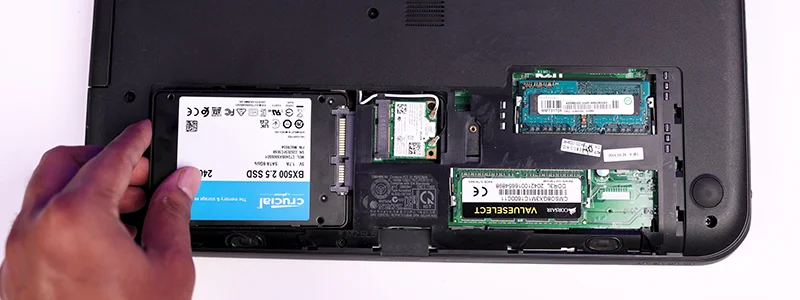
Step 6: Plug the SSD in the place of HDD and tight it with screw.
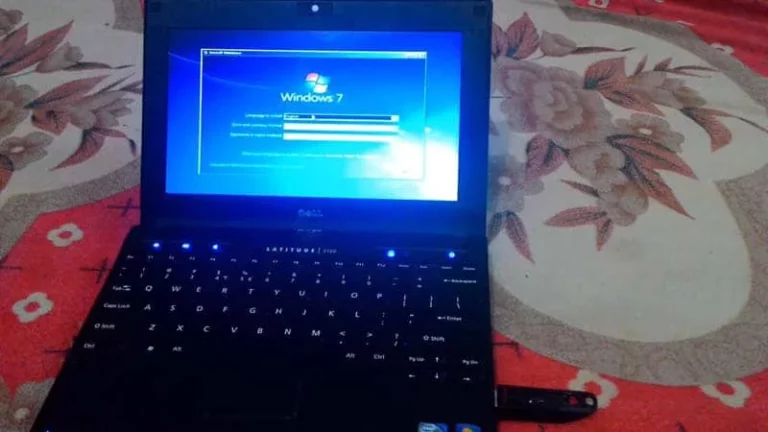
Now you can go with the next process, that is installing Windows or Linux on the SSD.
How to Install Windows or Linux on SSD
To install Operating system on the SSD first you need to make a bootable USB drive of Windows 10, 11 or Linux. A minimum of 8gb USB flash drive is needed here and, access to another PC with internet.
Step 1: Download Windows 11 or 10 ISO file from the official Microsoft site.
Step 2: Make your flash drive a Bootable drive using CMD or Rufus.
Step 3: Once you made it, Plug it in to the Laptop.
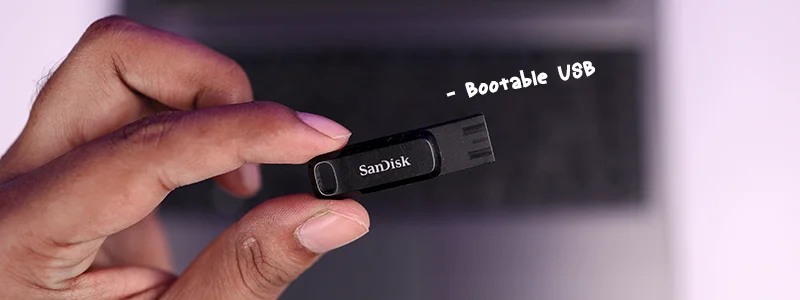
Step 4: Turn on the laptop and quickly press the boot menu key, in the boot menu select USB drive and, follow instructions to install Windows 11 or 10.
Note: the boot menu key is differ in different laptop brands, here are some few standard keys. Dell = f12, Lenovo = Fn + F12, HP = F9 and Asus = ESC.
Congratulations!! you installed SSD and, OS in the SSD. Now your laptop is 5X faster than before.
How to install 2nd HDD Caddy to Laptop
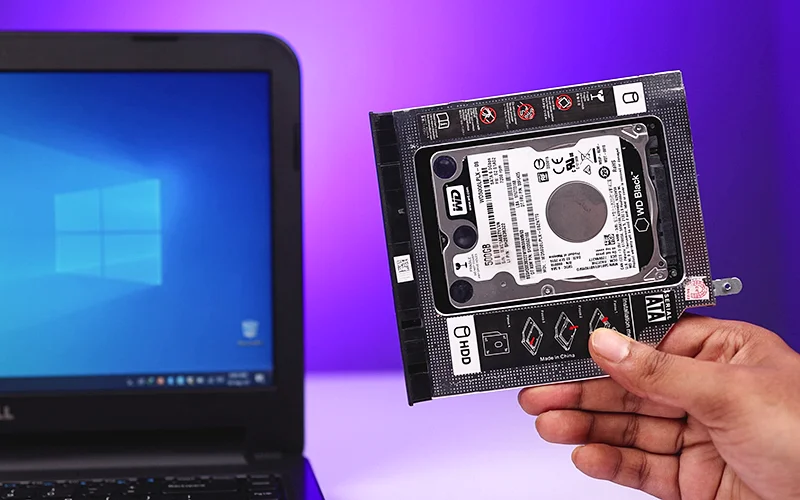
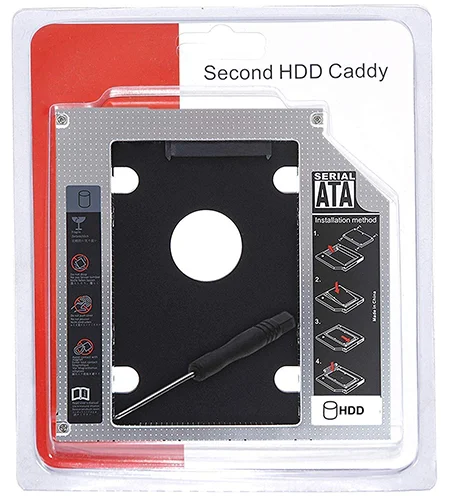
So, your laptop is old and has a DVD drive. That is not useful these days, here 2nd HDD Caddy takes place. It will allow you to add additional storage drives to your laptop without disturbing the OS drive. But, if you check online there are 2 types of 2nd HDD Caddy available that is 9.5mm caddy and 12.7mm caddy. Generally the 9.5mm caddy used often, but let me tell you which caddy you actually need.
– Advertisement –
– Continue Reading –
Which Caddy you Need 9.5mm or 12.7mm ?
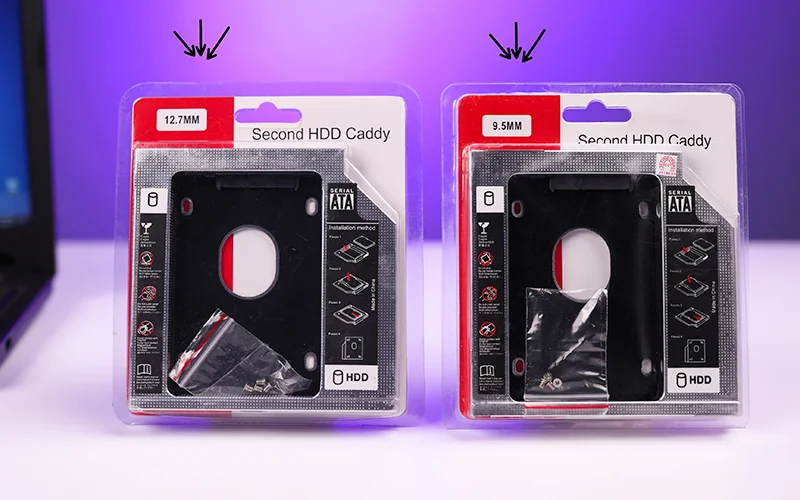
To find out all you need to do just take out the DVD writer from the Laptop, and take a Centimeter Scale or Ruler. That is very easy, just flip your laptop to the back side and open the single screw of the DVD drive and slide it out. Measure the thickness of the left side of the the DVD ROM with the help of the ruler to find out how much mm of your drive is. Just follow the steps:
Step 1: Turn off the Laptop and, flip it to the back.
Step 2: Find the DVD ROM screw in the back and open it. (Every DVD ROM has only 1 screw with a Disk Symbol)
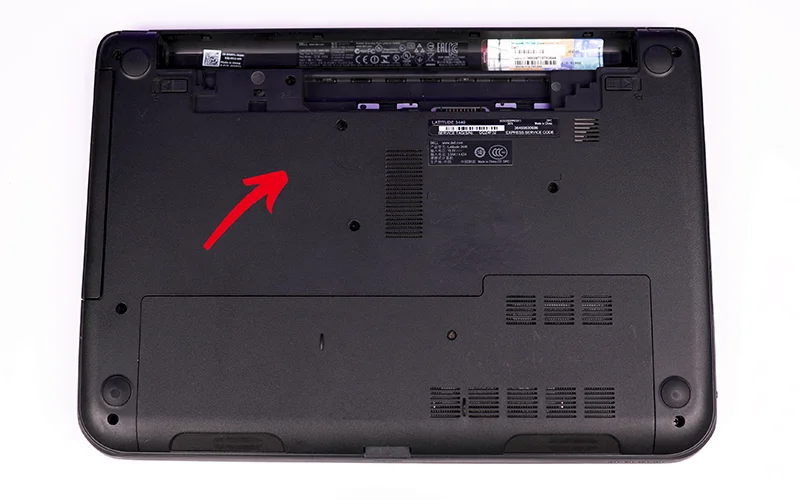
Step 3: Slide out the DVD ROM out of the Laptop.
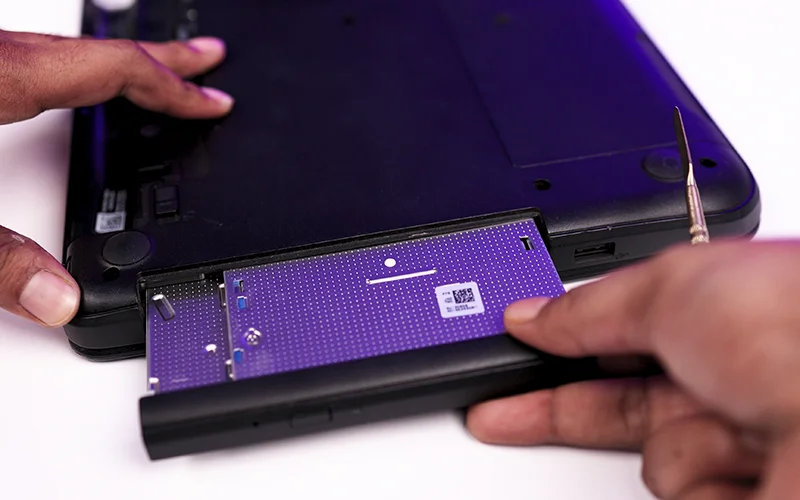
Step 4: Now in the left side measure the thickness with the ruler.
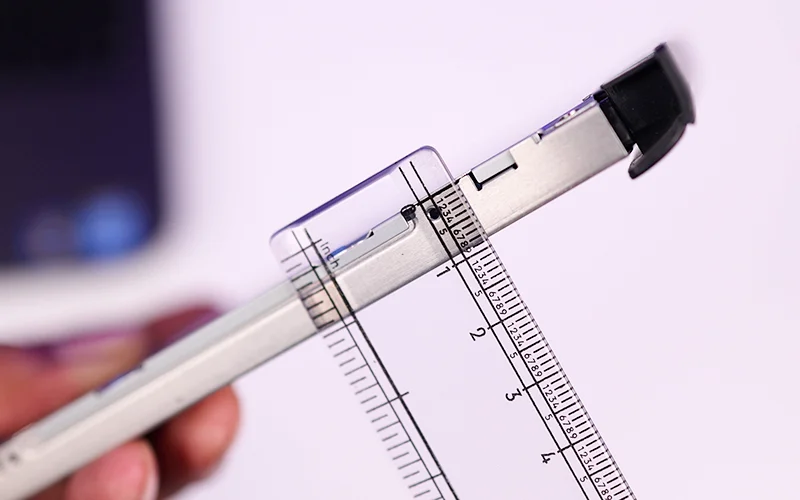
Step 5: If the ruler shows 9mm or 9.5mm, now you can confidently order the 9.5mm Caddy.
Step 6: If your DVD ROM shows 12.7mm then you are good to go with the 12.7mm Caddy.
Step 7: Once you ordered a new Caddy, Carefully detach the front frame of the DVD ROM and attach the frame to the Caddy carefully. (Eject the DVD tray using a Needle)
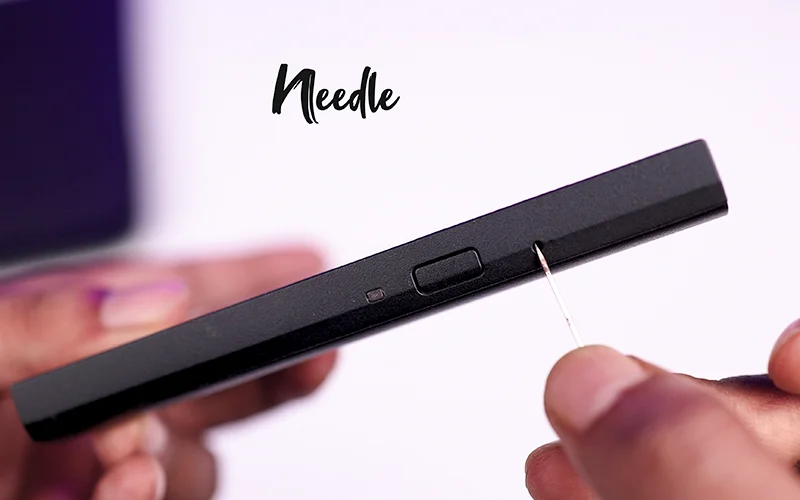
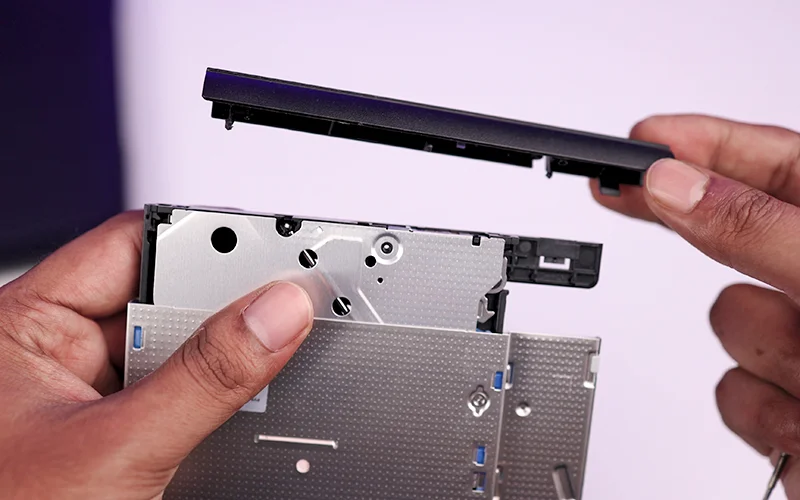
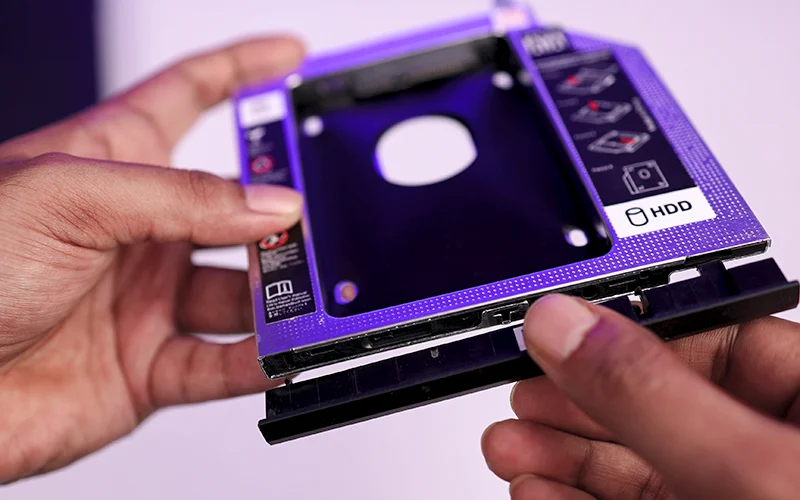
Step 8: Do same with the mount of the DVD ROM to Caddy.
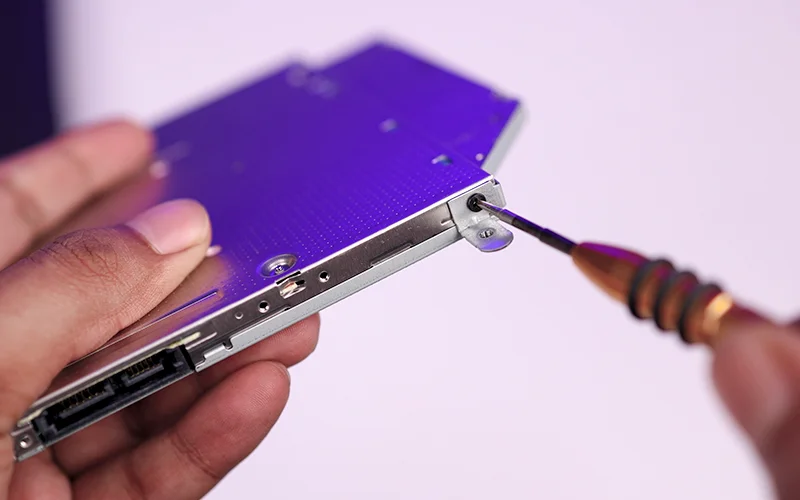
Step 9: Plug the HDD to caddy and fix it with the provided screws.
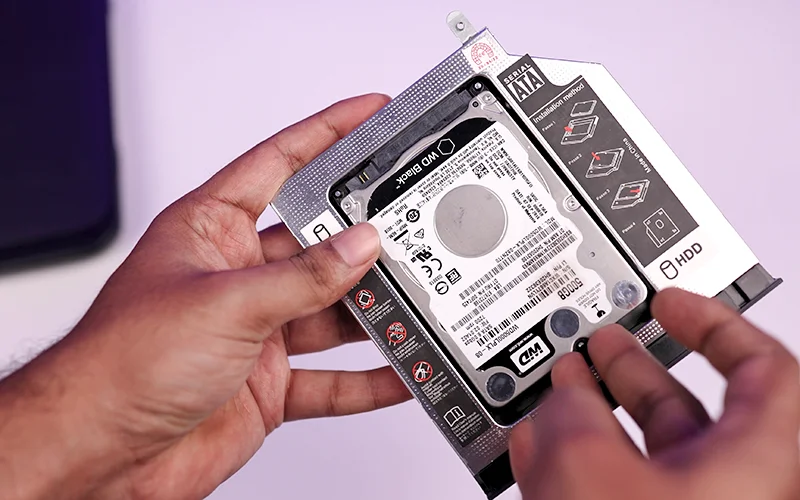
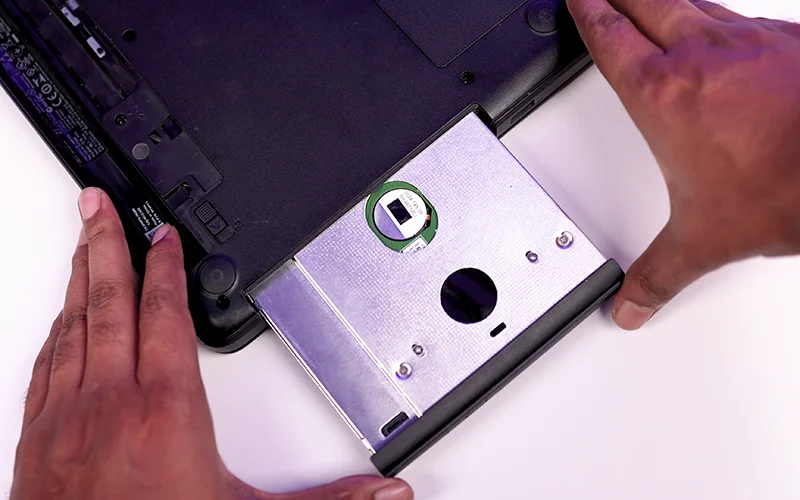
Step 10: Plug the Caddy in the place of DVD ROM, and tight the screw.
So here you successfully installed the Second Hard Drive to your Laptop. Now if you added a new hard drive to caddy as a storage drive it will wont show up. You have to Right Click on “This PC” icon and have to go to manage > Disk Management. There you will find your new HDD as a unallocated drive right click on it and create a simple volume.
If you installed an OLD HDD which was your OS drive previously, then you will see many partitions such as System Reserved, C Drive, E Drive. Make a backup of the files and if you wish you can delete all the partitions in Disk management and create a single Drive. You can check it in detail by watching the Following Video:
How to Install 2nd HDD Caddy on Laptop (Video Tutorial)
Thank you so much for reading our tutorial on How to install SSD and HDD together in laptop using the 2nd HDD Caddy, hope all your confusion is gone and now you know what is good for your laptop. Weather you are just adding a storage drive to laptop or just upgrading the SSD. If you have any questions regarding this, feel free to comment down below.

